
Quick Summary: Learn fun and effective baseball drills for 7-8 year olds to build essential skills in hitting, fielding, and throwing. These simple activities focus on building confidence and a love for the game, setting young players up for success.
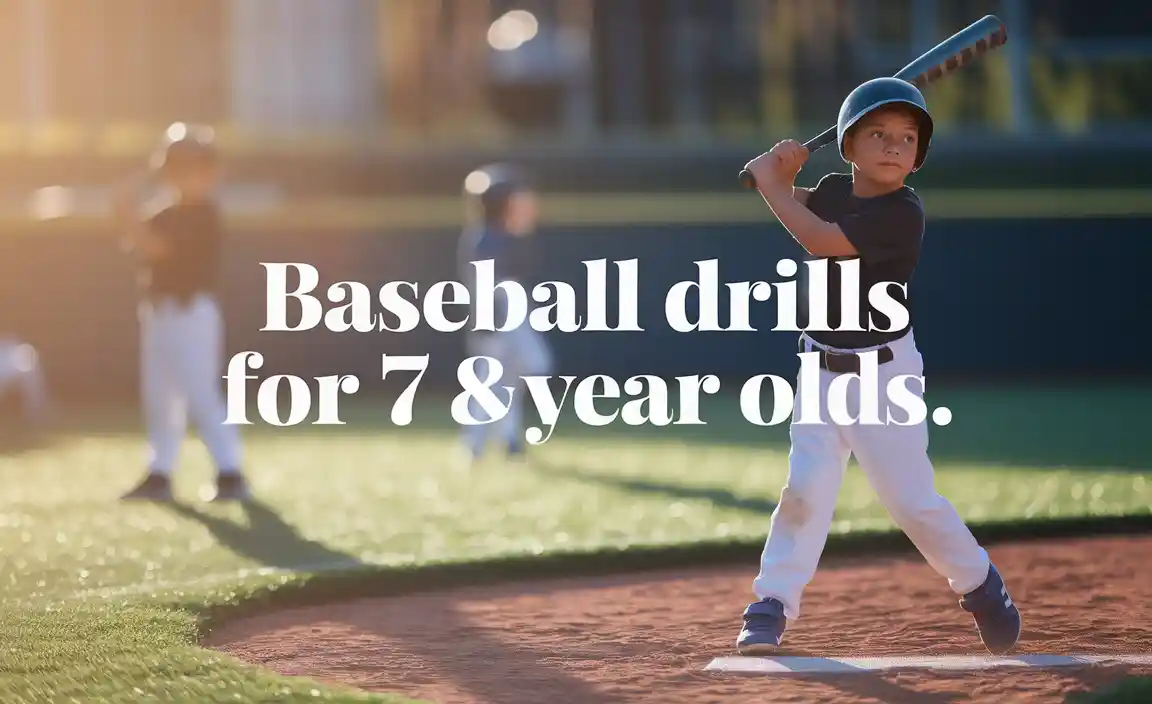
Getting your 7 or 8-year-old ready for baseball can feel like a big task, right? You want them to have fun, learn the game, and maybe even hit that game-winning homer! But with so many things to focus on – hitting, throwing, catching – it’s easy to feel a bit lost. What drills really work for this age group? How can you make practice exciting instead of a chore? Don’t worry, we’ve got you covered. We’ll break down the most important skills and give you easy, engaging drills that will have your young sluggers improving in no time. Get ready to watch your player’s confidence and abilities grow!
Baseball Drills for 7-8 Year Olds: Building the Foundation
At ages 7 and 8, baseball is all about building a strong foundation. It’s less about perfect mechanics and more about developing good habits, understanding the game’s flow, and, most importantly, having fun! For young players, practice should be energetic, positive, and full of opportunities to succeed. We’ll focus on three key areas: hitting, fielding, and throwing. Each of these pillars is crucial for overall baseball performance, and dedicated practice time for each will make a noticeable difference.
Remember, at this age, short attention spans are common. Keeping drills quick, engaging, and varied will help maintain focus and enjoyment. Celebrating small victories and praising effort over immediate results is key to building confidence. Let’s dive into some fantastic drills designed specifically for this age group.
Hitting Drills to Develop Power and Contact
Hitting a baseball seems simple, but it involves a complex series of movements. For 7 and 8-year-olds, we want to focus on the fundamentals: balance, a level swing, and making solid contact. These drills are designed to be engaging and build confidence at the plate.
Tee Work for Consistency
Batting tees are fantastic for beginners because they remove the variable of the pitch, allowing the player to focus solely on their swing mechanics. It’s a great way to build muscle memory for a proper swing path.
Why it’s great: Allows players to focus on hand-eye coordination, swing path, and making solid contact without the pressure of hitting a moving ball. It helps develop a consistent striking motion.
How to do it:
- Set up the tee to a comfortable height, typically around waist-high.
- Have the player stand with a balanced stance, feet shoulder-width apart.
- Ensure the bat starts with a controlled backswing and finishes with a full follow-through.
- Focus on making contact out in front of the plate.
- Start with slow swings and gradually increase power as comfort grows.
- Encourage them to watch the ball all the way to the bat.
Pro-Tip: Rotate the positions of the tee around the plate (inside, outside, middle) to help the player learn to hit the ball where it’s pitched.
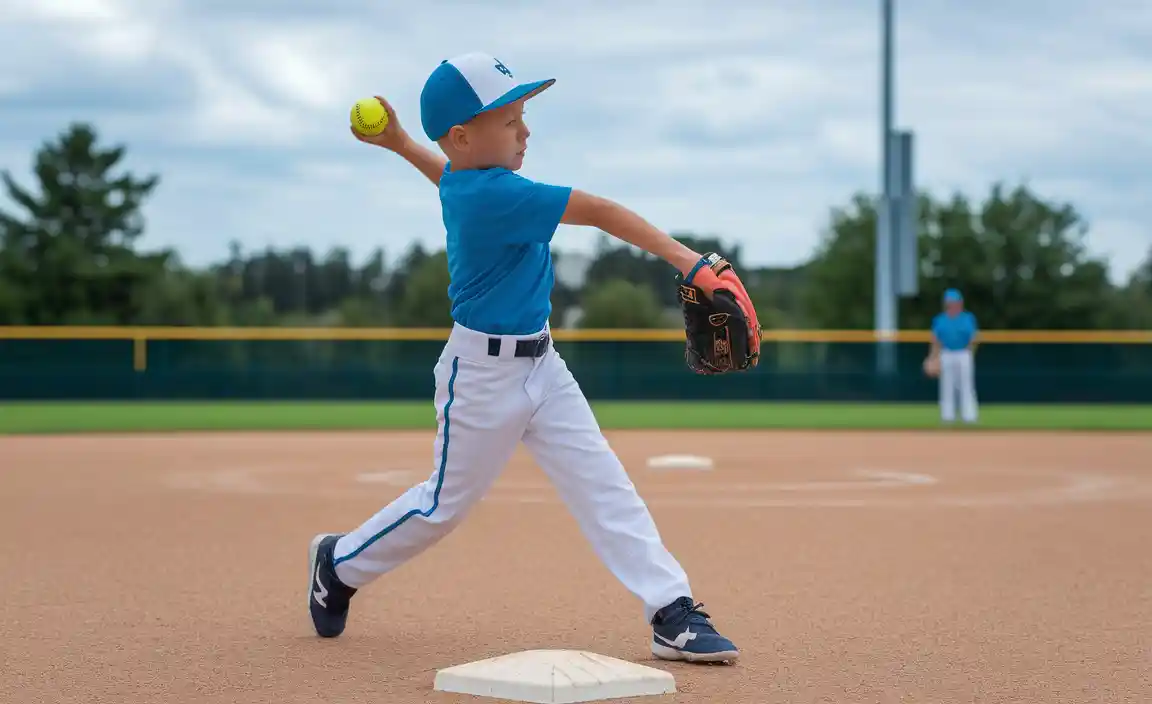
Soft Toss for Tracking the Ball
Soft toss is the next step up from tee work. It introduces a moving ball but at a controlled pace, making it easier for young players to track the ball from the thrower’s hand to the bat.
![]()
Why it’s great: Improves tracking a moving ball, hand-eye coordination, and timing. It bridges the gap between tee work and live pitching.
How to do it:
- Have the player stand in the batter’s box.
- Position yourself a few feet in front of and to the side of the plate, holding several baseballs.
- Underhand toss the ball towards the plate, aiming for a spot slightly in front of home plate.
- Encourage the player to swing at pitches they can reach comfortably.
- Focus on a level swing and follow-through.
- Keep the tosses consistent and predictable to build confidence.
Equipment Note: Ensure your player has a properly sized and weighted bat. An aluminum or composite bat can be lighter and easier to swing than a traditional wood bat for this age group. For recommendations, check out resources on youth baseball bat sizing.
Little League Pitching Machine Drills
A pitching machine can be a fantastic tool for consistent repetition. You can set it to a predictable speed and location, allowing players to get many swings under their belt in a short amount of time.
Why it’s great: Provides consistent, repeatable pitches, allowing players to work on timing and swing mechanics with real pitching velocity (at a controlled setting). It builds confidence through frequent successful contact.
How to do it:
- Set the pitching machine to a comfortable, easy-to-hit speed (e.g., 30-40 mph is often suitable for 7-8 year olds).
- Start with pitches down the middle and at a consistent height.
- Allow players to focus on their swing and making contact.
- Gradually increase the speed or introduce slight variations in pitch location as players improve.
- Ensure proper safety precautions are in place, with players waiting their turn and standing a safe distance from the machine.
Safety First: Always ensure that players and coaches are aware of the pitching machine’s location and operate it safely. Never aim it directly at people.
Fielding Drills: Mastering Ground Balls and Fly Balls
Fielding is about anticipation, good footwork, and secure hands. For young players, these drills focus on developing a feel for the ball and building confidence in catching and throwing.
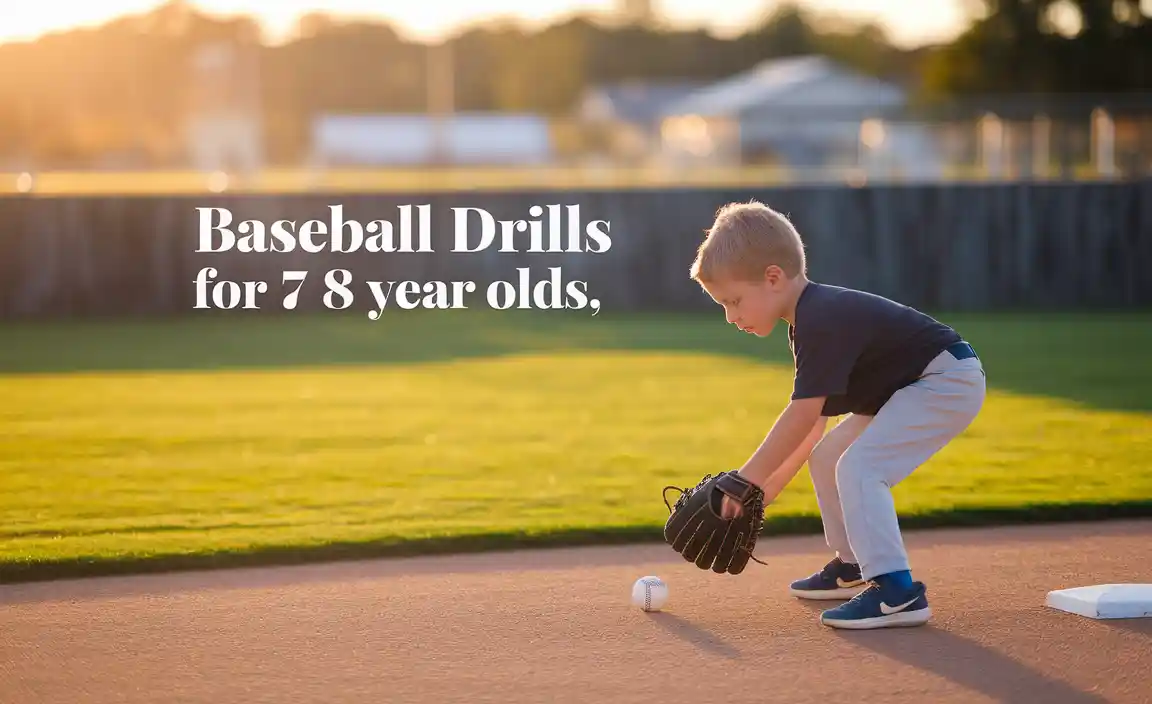
Ground Ball Basics: “Ready Position” and “Knees”
Teaching players to get into a good fielding position is crucial. This means being low, with their glove on the ground and their bare hand ready to scoop.
Why it’s great: Teaches proper stance, glove-to-hand transition, and how to field a ground ball cleanly. It builds fundamental defensive skills.
How to do it:
- Start with the player in an athletic stance, knees bent, back straight.
- Have them drop their glove on the ground in front of them, with knees bent so their eyes are low to the ground.
- Roll or softly hit ground balls towards them.
- Emphasize keeping their glove on the ground and scooping the ball into their glove.
- Encourage them to use their bare hand to cover the ball in the glove once it’s secured.
- Focus on making a clean catch first, then the throw.
Progression: Once they’re comfortable, have them field the ball and then practice bringing it into a throwing position.
Forehand and Backhand Fun
Fielding balls that aren’t hit directly at you requires a bit more agility. These drills help players develop their ability to move to the ball and field it on either side.
Why it’s great: Develops agility, hand-eye coordination, and the ability to field balls hit to the left and right of the body.
How to do it:
- Use the same “ready position” stance.
- Have a coach or parent roll or softly hit ground balls slightly to the player’s left (for their forehand) and right (for their backhand).
- Encourage them to move their feet to get their body behind the ball if possible.
- For forehands, extend the glove arm. For backhands, practice reaching across their body with the glove, keeping their bare hand ready to cover.
- Focus on getting their body square to where they want to throw after fielding the ball.
Table: Ground Ball Fielding Progression
| Drill Focus | Description | Key Skill |
|---|---|---|
| Stationary Scoop | Player stays in place, scoops balls rolled directly at them. | Glove on ground, scooping motion. |
| One Step Move | Player takes one step left or right to field a ball. | Footwork to get behind the ball. |
| Forehand/Backhand Reach | Player fields balls rolled to their sides. | Reaching with glove, hand ready. |
| Field and Throw | Player fields a ground ball and makes a short throw. | Transition from fielding to throwing. |
Outfield Fly Ball Fundamentals
Catching fly balls can be intimidating. For this age, focus on tracking the ball and getting behind it. Proper technique makes it much easier and safer.
Why it’s great: Builds confidence in catching fly balls, improves tracking skills, and teaches players to get under the ball.
How to do it:
- Start close to the outfielder, hitting or throwing fly balls just a short distance.
- Encourage players to watch the ball all the way into their glove. The mantra “Watch the ball into your glove” is powerful.
- Teach them to get their body under the ball and catch it with two hands.
- Once they are comfortable, increase the distance slightly.
- Focus on having them call for the ball loudly (“Mine!”).
Safety Note: Always ensure a clear area when practicing fly balls. Make sure players are aware of their surroundings and other players.
Throwing Drills: Accuracy and Arm Strength
A strong, accurate throw is vital in baseball. For 7 and 8-year-olds, the focus is on proper grip, a smooth throwing motion, and accuracy over raw speed.
Grip and Wrist Snap Practice
Correct grip is the first step to an accurate throw. Teaching the four-seam grip helps develop a straighter, faster ball.
Why it’s great: Teaches proper grip for control and accuracy, and introduces the concept of a wrist snap for added velocity.
How to do it:
- Show players the “four-seam” grip: two fingers across the seams (like a ‘C’ shape), thumb on the underside.
- Have them practice holding the ball this way.
- Gently toss the ball back and forth at very close range (a few feet).
- Focus on a smooth motion: elbow up, bring the ball forward, and snap the wrist down upon release.
- Encourage them to aim for a target.
Partner Toss Progression
This simple drill builds arm strength and accuracy by gradually increasing the throwing distance.
Why it’s great: Builds arm strength and endurance gradually, improves accuracy, and promotes communication between players.
How to do it:
- Have players pair up, standing about 10-15 feet apart.
- They practice throwing to their partner using the correct grip and motion.
- After a few successful throws, they take a step back, increasing the distance.
- Continue increasing the distance as each player shows comfort and accuracy.
- If a player struggles, have them step closer and focus on form and a good follow-through.
External Resource: For a deeper dive into youth throwing mechanics, the USA Baseball Coaching Resource Center offers excellent guidance on developing young athletes safely and effectively.
Target Practice Accuracy Drill
Adding targets makes throwing practice more interactive and gives players a specific goal to aim for, enhancing accuracy.
Why it’s great: Focuses on accuracy, makes practice engaging with a clear goal, and helps players develop focus.
How to do it:
- Set up targets at various distances. These can be buckets, cones, or even drawn circles on a wall or tarp.
- Have players throw from a set distance to hit the target.
- Award points for hitting the target, or simply focus on improving their success rate.
- Vary the targets and distances to keep it challenging.
Equipment Tip: Wearing a proper fitting glove is crucial. For 7-8 year olds, a glove between 9 and 11 inches is usually appropriate, depending on hand size. Look for gloves with good padding and an easy-to-close design.
Base Running & Baseball IQ Drills
While hitting, fielding, and throwing are critical, understanding how to run the bases and basic baseball strategy is also important. These drills introduce fundamental concepts in a fun way.
Leadoff and Run Through
This simple drill teaches players how to get a good start from a base and the importance of running through the bag.
Why it’s great: Introduces the concept of getting a good jump, proper base running technique, and the importance of running through bases.
How to do it:
- Have players start at first base.
- On a verbal cue (“Go!”), they should sprint towards second base.
- Emphasize driving through second base without stopping or slowing down until they reach the middle of the bag.
- They then jog back to first.
- Progress to having a coach simulate a throw to first, and have the runner “run through” to pretend to be safe at second.
Situational Awareness: “Where to Throw?”
This is more of a discussion-based drill that can be done during downtime or before/after practice. It helps build understanding of the game.
Why it’s great: Develops baseball IQ by teaching players to think about the game situation and make good decisions.
How to do it:
- Present a scenario: “There’s a runner on first, and the batter hits a ground ball to the shortstop. Where should the shortstop throw the ball?” (Answer: First base, to get the out there).
- Use diagrams or simply describe the situation.
- Ask questions like: “If there’s a runner on second and the ball is hit to the outfield, what should the outfielder do?” (Answer: Throw to the cutoff man, or depending on the play, try to throw home).
- Keep it simple and focus on the most common scenarios.
Practice Scrimmages
The best way to put it all together is through modified game play. Keep it fun and focus on effort and learning.
Why it’s great: Allows players to apply learned skills in a game-like environment, encourages teamwork, and makes learning fun.
How to do it:
- Play short, low-pressure scrimmages.
- Rotate players through different positions.
- Focus on positive reinforcement for good effort and solid plays.
- Don’t worry too much about score; emphasize participation and learning.
- Use batting tees or soft toss for younger hitters if needed to ensure more consistent contact.
Essential Baseball Equipment for Young Players
Having the right gear can make a big difference in a young player’s comfort, confidence, and performance. For 7-8 year olds, focus on safety and age-appropriateness.
Bats: Size and Type
Choosing the right bat starts with finding the correct length and weight (a concept known as “drop weight,” which is the difference between the length and weight of the bat, e.g., a 28-inch bat weighing 18 ounces has a drop weight of -10). A lighter bat is easier to swing faster, leading to better contact.
- Material: Aluminum or composite bats are generally recommended for this age group as they are lighter and often have a larger “sweet spot” than wood bats.
- Drop Weight: Look for bats with a drop weight of -10 or -11. A 26-28 inch bat is common for this age.
- League Rules: Always check your league’s regulations for approved bat types and sizes.
Gloves: Fit and Function
A well-fitting glove is crucial. It needs to be comfortable, easy to close, and offer enough padding to protect the hand.
- Size: Gloves for this age group typically range from 9 to 11 inches. Measure your player’s hand and consider their playing position. Infielders often use smaller gloves (9-10 inches