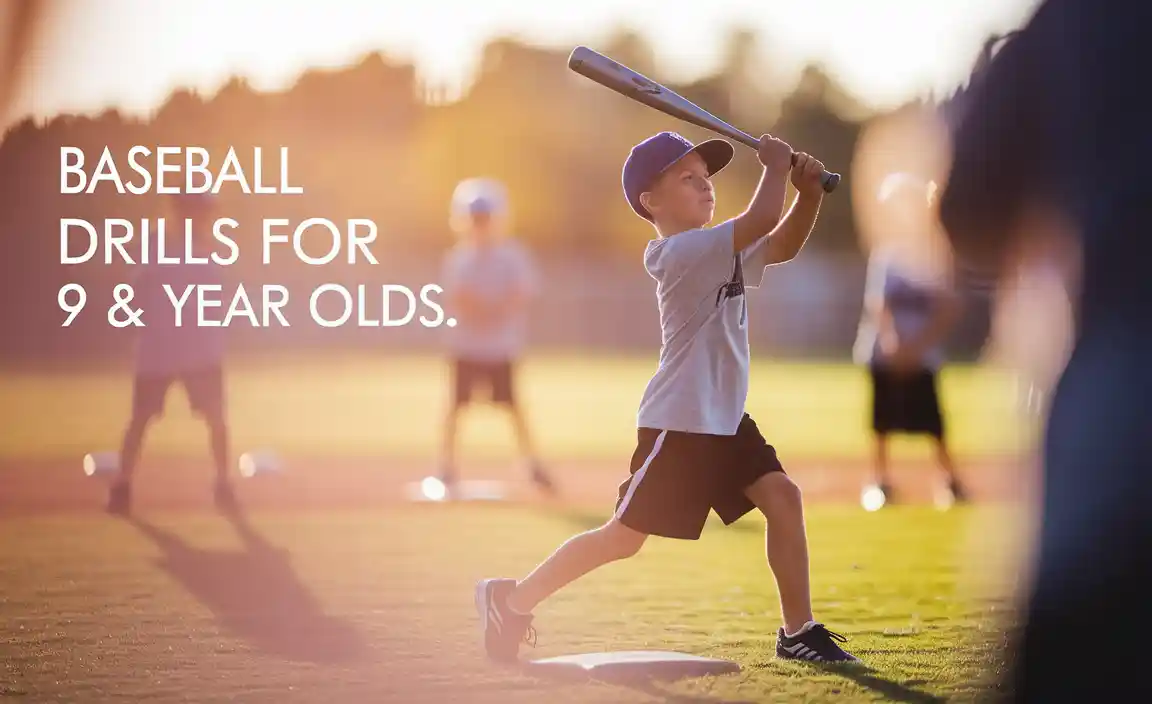
Baseball drills for 9 and 10 year olds focus on building solid fundamentals in hitting, fielding, and throwing. Fun, engaging drills that break down complex skills into simple steps are key to improving player confidence and performance.
Getting ready for baseball season can feel like a big challenge, especially when you’re looking at drills for 9 and 10 year olds. It’s a time when young players are really starting to understand the game, but sometimes, the drills themselves can feel a little confusing. You want to make sure they are building the right habits and not just going through the motions. The good news is, with the right approach, teaching these skills can be straightforward and super fun!
We’re going to break down some proven baseball drills that focus on key skills. These aren’t just exercises; they’re designed to be engaging and boost a young player’s confidence. We’ll cover everything from perfecting that swing to making a rocket throw and scooping up ground balls like a pro. Get ready to dive into drills that will make practice exciting and help your 9 and 10 year olds shine on the field!
Mastering the Fundamentals: Baseball Drills for 9 & 10 Year Olds
At 9 and 10 years old, baseball players are at a fantastic age for skill development. They have more coordination than younger kids, can understand more complex instructions, and are eager to learn. This is the prime time to solidify the core skills that will serve them throughout their baseball journey. Our focus will be on making practice effective and enjoyable, ensuring every player builds confidence and a love for the game.
We’ll cover three main areas: hitting, fielding (ground balls and fly balls), and throwing. For each area, we’ll present drills that are easy to set up, understand, and execute. Remember, consistency and positive reinforcement are your best friends when coaching this age group. The goal is to build a strong foundation that will make advanced techniques easier to grasp later on.
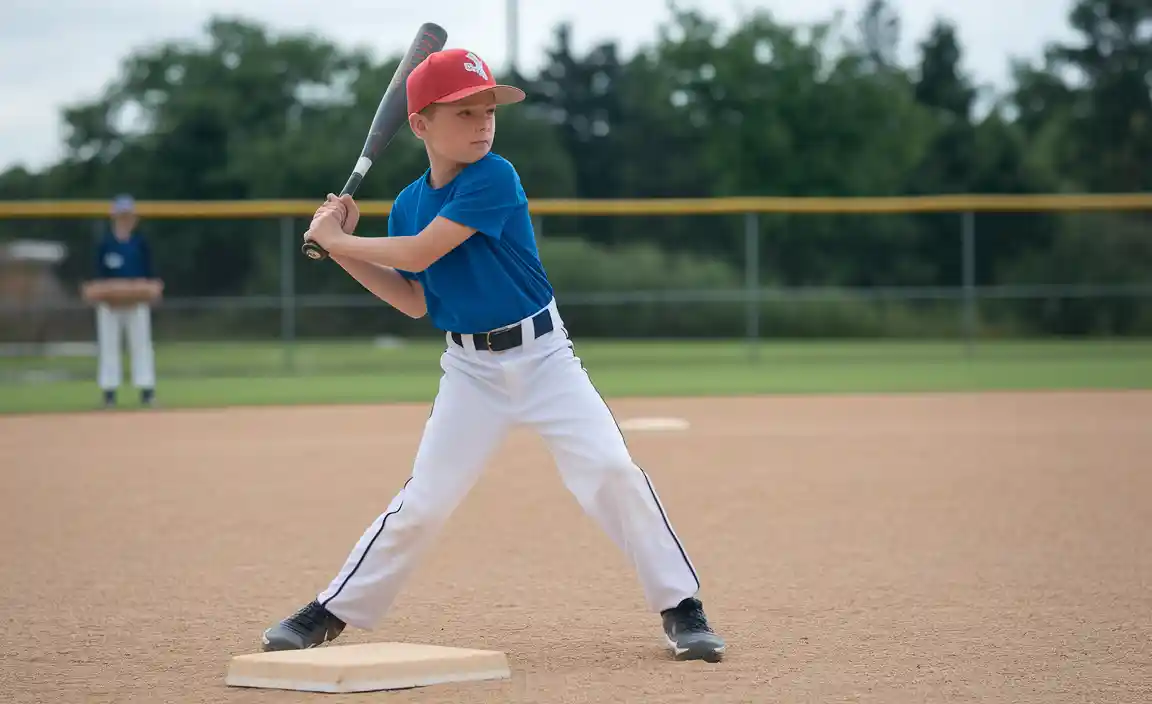
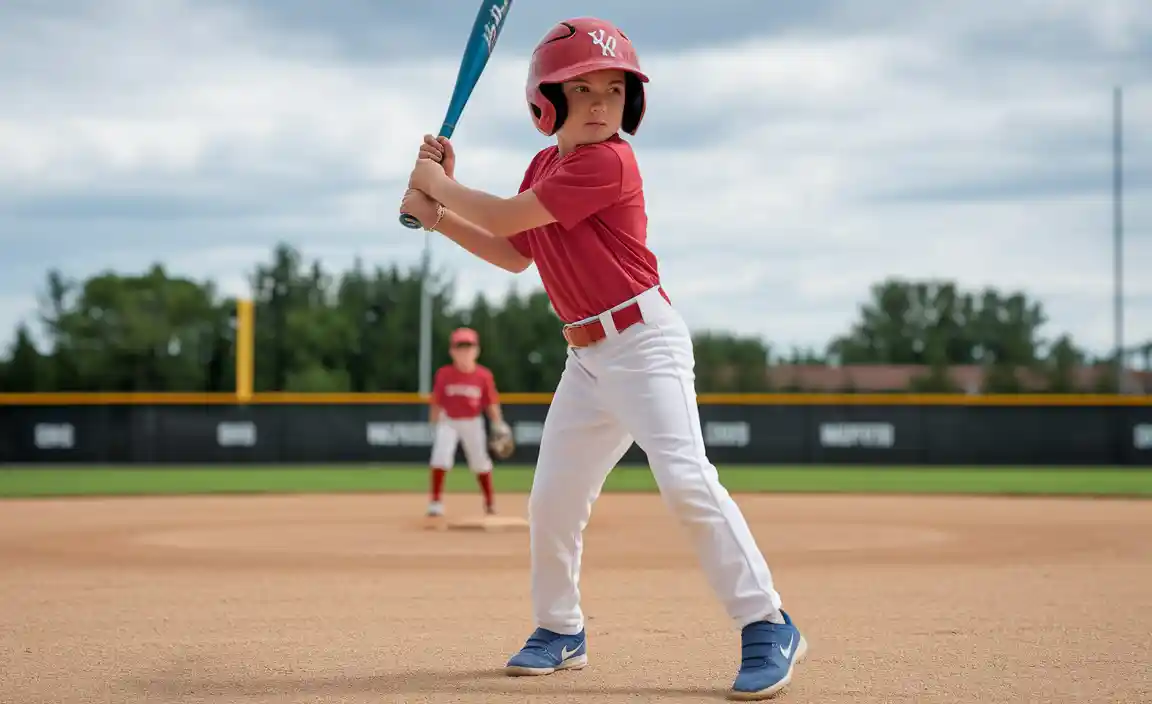
1. Hitting Drills: Finding That Sweet Spot
Hitting is often the most exciting part of baseball for young players. At this age, we want to focus on proper stance, grip, a level swing, and making solid contact. Forget about hitting home runs for now; the goal is consistent, powerful contact.
Tee Work Mastery
Hitting off a tee is fundamental. It allows players to focus solely on their swing mechanics without the pressure of a moving pitch. This drill is crucial for building muscle memory for a good swing.
- Setup: Place a batting tee at different heights and positions relative to home plate. Start with the ball at waist height, directly in front of the plate.
- Execution: The player takes a practice swing, then focuses on hitting the ball with a level bat. Encourage them to watch the ball all the way to contact.
- Progression: Move the tee to simulate inside, middle, and outside pitches. Vary the height to simulate high and low pitches.
- Coaching Tip: Emphasize keeping their eye on the ball. Remind them to have a relaxed grip, swing level, and follow through.
Soft Toss Fun
Soft toss builds on tee work by introducing a moving ball. It helps players develop timing and hand-eye coordination, simulating when a pitcher throws a ball.
- Setup: A coach or parent stands to the side of and slightly in front of the batter. They will gently toss the ball underhand towards the batter.
- Execution: The batter focuses on hitting the tossed ball. The toss should be consistent, not too fast or too slow.
- Progression: Vary the speed and distance of the toss. You can also have the toss enter the hitting zone from slightly different angles (simulating inside/outside).
- Coaching Tip: Encourage the batter to wait for the ball and not to rush their swing. This helps them develop patience and better timing.
Partner Tee Drill
This drill adds a bit of friendly competition and reinforces proper grip and stance. It’s great for groups.
- Setup: Two players at a batting tee. One player is the hitter, the other is the “coach.”
- Execution: The “coach” player checks the hitter’s stance, grip, and readiness. They can offer reminders about keeping their eye on the ball. After a set number of swings (e.g., 10), they switch roles.
- Progression: The “coach” player can call out imaginary pitches (fastball, curveball) to help the hitter adjust their focus.
- Coaching Tip: This fosters peer learning and makes players more aware of the common mistakes.
2. Fielding Drills: Glove Work That Shines
Fielding is about anticipation, quick reactions, and clean execution. For 9 and 10 year olds, we focus on getting into the correct fielding position, using the glove properly, and making accurate throws.
Ground Ball Fundamentals: The “Alligator” Drill
This is a classic for a reason! It teaches players to get their body behind the ball.
- Setup: Players get into their fielding stance. The coach rolls or hits ground balls to them.
- Execution: Players track the ball, get their glove down, and make a “catch” with their throwing hand on top of the glove (like an alligator’s mouth closing). This secures the ball.
- Progression: Start close and gradually increase the distance. Roll ground balls to the left, right, and straight at them.
- Coaching Tip: Emphasize “getting in front of the ball” and keeping their glove low. Use the descriptive term “alligator” to help them remember the hand-over-glove technique.
The “Happy Gilmore” (or “Quick Flip”) Drill for Infielders
This drill helps infielders transition from fielding the ball to making a quick, accurate throw. It’s named after the movie character’s golf swing for its quick, decisive motion.
- Setup: Players field a ground ball and immediately, without a deep wind-up, make a crisp throw to a target (a coach, another player, or a designated spot).
- Execution: The player fields the ball cleanly, brings it into their body, and makes a short, sharp throwing motion to the target.
- Progression: Practice with throws to first base, second base, or home plate.
- Coaching Tip: Focus on a smooth transfer of the ball from glove to hand and a quick, compact throwing motion.
Raking Fly Balls
Catching fly balls requires tracking the ball from the bat, judging its trajectory, and getting under it. For this age, “raking” (using the glove to scoop the ball) is a good starting point.
- Setup: The coach hits or tosses fly balls to players.
- Execution: Players watch the fly ball all the way into their glove. They should use their glove to “rake” or scoop the ball into it.
- Progression: Start with easy pop-ups directly overhead. Gradually hit balls to the left and right, forcing players to move and track.
- Coaching Tip: The key is tracking the ball. Remind players to keep their eye on it “until it goes into the glove.”
Bucket Drill for Outfielders
This drill helps outfielders learn to read fly balls and move to the correct position. It also emphasizes communication.
- Setup: Coaches hit fly balls to outfielders. In front of each outfielder, place a bucket or cone.
- Execution: The outfielder must get to the general area where the ball will land and catch it. The bucket acts as a visual marker for where they should aim to be.
- Progression: Hit balls with different trajectories and depths. Call out “pop-up” or “deep fly” to help them anticipate.
- Coaching Tip: Encourage communication like “I got it!” or “You got it!” early.
3. Throwing Drills: Accuracy and Arm Strength
Good throwing mechanics are vital for all positions. At this age, we build on proper grip, arm motion, and accuracy. We want to avoid developing bad habits that can lead to injuries or inaccurate throws.
The Coin Toss Drill
This simple drill helps players develop a consistent grip and a smooth throwing motion.
- Setup: Players hold a baseball.
- Execution: Have players practice holding the ball with their fingertips, and then simulate the throwing motion without actually throwing. They can practice “flipping” the ball from their glove to their throwing hand, like they’re flipping a coin. Then, they practice the throwing motion, making sure to keep their arm high and elbow up.
- Progression: Once they’ve mastered the dry drill, have them step into short throws (5-10 feet), focusing on the same mechanics.
- Coaching Tip: Focus on keeping the throwing arm “up” and the elbow in a good position, not dropping it too low.
Partner Throwing (with Progression)
This is the bread and butter of developing arm strength and accuracy.
- Setup: Two players stand a short distance apart.
- Execution: Players throw the ball back and forth, focusing on good technique:
- Grip the ball with fingertips.
- Step towards the target with their opposite foot.
- Keep their arm up and make a smooth throwing motion.
- Follow through across their body.
- Progression: Gradually increase the distance between the players as their accuracy and comfort improve.
- Coaching Tip: Constantly reinforce the proper mechanics. A good resource for understanding throwing mechanics from a coaching perspective is Baseball America’s guide on teaching the proper throw.
The “Strong Side” Throwing Drill
This drill helps players focus on using their body to generate power, not just their arm.
- Setup: Players stand facing their target.
- Execution: They practice stepping with their opposite foot and rotating their hips and torso as they throw. The emphasis is on transferring energy from the ground up through their body to the ball.
- Progression: Start with short throws, focusing on the hip and shoulder rotation. As they get comfortable, increase the distance.
- Coaching Tip: Think of it like winding up a spring. They should feel their core muscles engage.
Accuracy Target Practice
This drill makes throwing practice more engaging and directly improves accuracy.
- Setup: Set up targets at various distances. These could be buckets, cones, or even drawn circles on a wall.
- Execution: Players throw balls, trying to hit the targets.
- Progression: Make it a game! Award points for hitting targets. You can also have players throw at different heights within the target zone.
- Coaching Tip: Focus on control and hitting the center of the target, rather than just throwing hard.
4. Baserunning and Agility
While not as direct as hitting or fielding, baserunning and general agility are crucial for baseball performance. These drills improve speed, coordination, and quickness.
The “Run Away From The Ball” Drill
This simple drill helps young players understand when and how to run on contact.
- Setup: A batter stands in the batter’s box. A coach stands approximately 10-15 feet away with a bat and ball.
- Execution: The coach makes contact with out-of-play balls (e.g., fouls off to the side, pop-ups that land outside the fair territory). The batter’s job is to react to the hit ball and run towards first base.
- Progression: Vary the direction of the “hit” slightly.
- Coaching Tip: Reinforce the idea that they run hard on any ball hit fair, and on certain balls hit foul if it’s an infield fly situation. For 9-10 year olds, focus primarily on running on balls in play.
Cone Drills for Agility
These drills improve quickness, change of direction, and footwork.
- Setup: Set up a series of cones in various patterns (e.g., a straight line, a zig-zag, a diamond).
- Execution: Players run through the patterns, focusing on quick feet, staying low, and changing direction efficiently.
- Progression: Add tasks like fielding a ground ball at the end of a drill or making a throw.
- Coaching Tip: Encourage them to “shuffle” or “sprint” depending on the drill. Keeping their center of gravity low is key.
Equipment Considerations for Young Players
Having the right gear will not only make practices more comfortable but also help players perform better and stay safe. For 9 & 10 year olds, focus on proper fit and usability.
Baseball Bats
At this age, many players are using bats that are made of aluminum or composite materials. The key is selecting a bat that is the correct length and weight for the player. A bat that’s too heavy will hinder swing speed and can promote bad habits.
You can find good guides on bat sizing, like this one from USA Baseball. Generally, players should be able to hold the bat with one hand outstretched horizontally for a few seconds without their arm dropping significantly.
Gloves
A well-fitting glove is essential. It should feel snug but not too tight, allowing the player to close it around the ball. For infielders, smaller gloves are often preferred for quicker transfers. Outfielders might use slightly larger gloves. Catcher’s mitts and first baseman’s mitts are specialized and have unique padding and design.
Catcher’s Gear
If a player is interested in catching, proper gear is non-negotiable: helmet with mask, chest protector, and shin guards. Ensure all pieces fit well and are secured properly. This protects them from wild pitches and collisions.
Other Essential Gear
- Baseball Pants: Durable and comfortable for sliding and diving.
- Cleats: Provide traction on the field. Make sure they are the appropriate size for youth players.
- Batting Helmet: Essential for safety when hitting or running bases.
- Baseball Cap: For sun protection and team identity.
Creating a Practice Plan: Putting It All Together
A well-structured practice plan ensures you cover all necessary skills and keep players engaged. Here’s a sample structure:
<td style
| Drill Type | Duration (Approx.) | Focus |
|---|---|---|
| Warm-up & Agility | 10-15 minutes | Dynamic stretching, running patterns, quick feet |
| Throwing Progression | 15-20 minutes | Grip, arm motion, accuracy, distance |
| Fielding Station Rotations | 20-25 minutes | Ground balls, fly balls, infield/outfield work (players rotate through stations) |
| Hitting Station Rotations | 20-25 minutes |