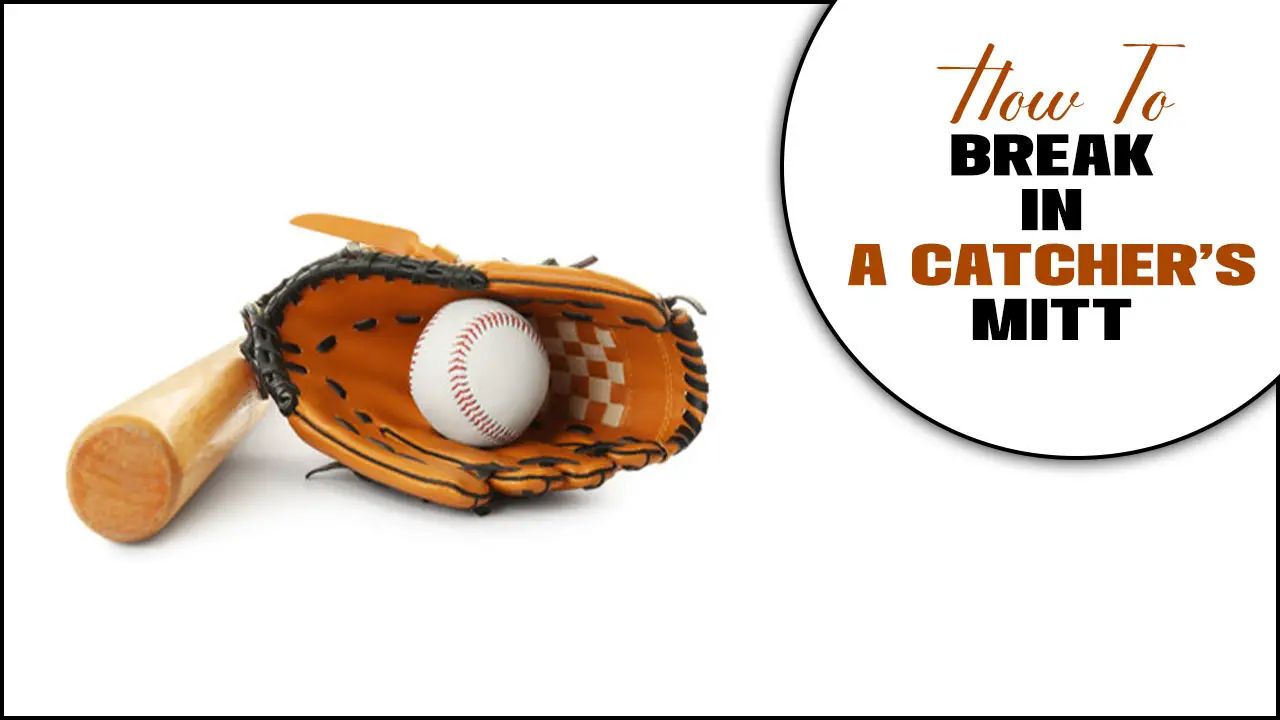
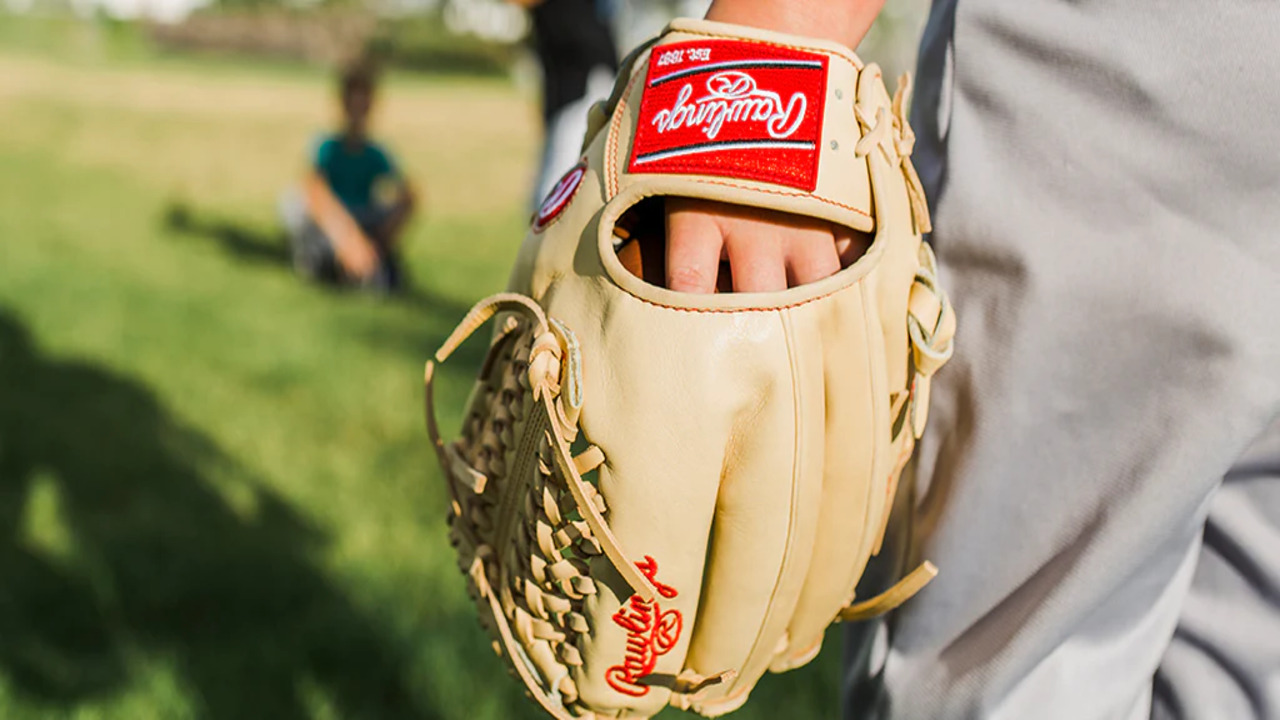
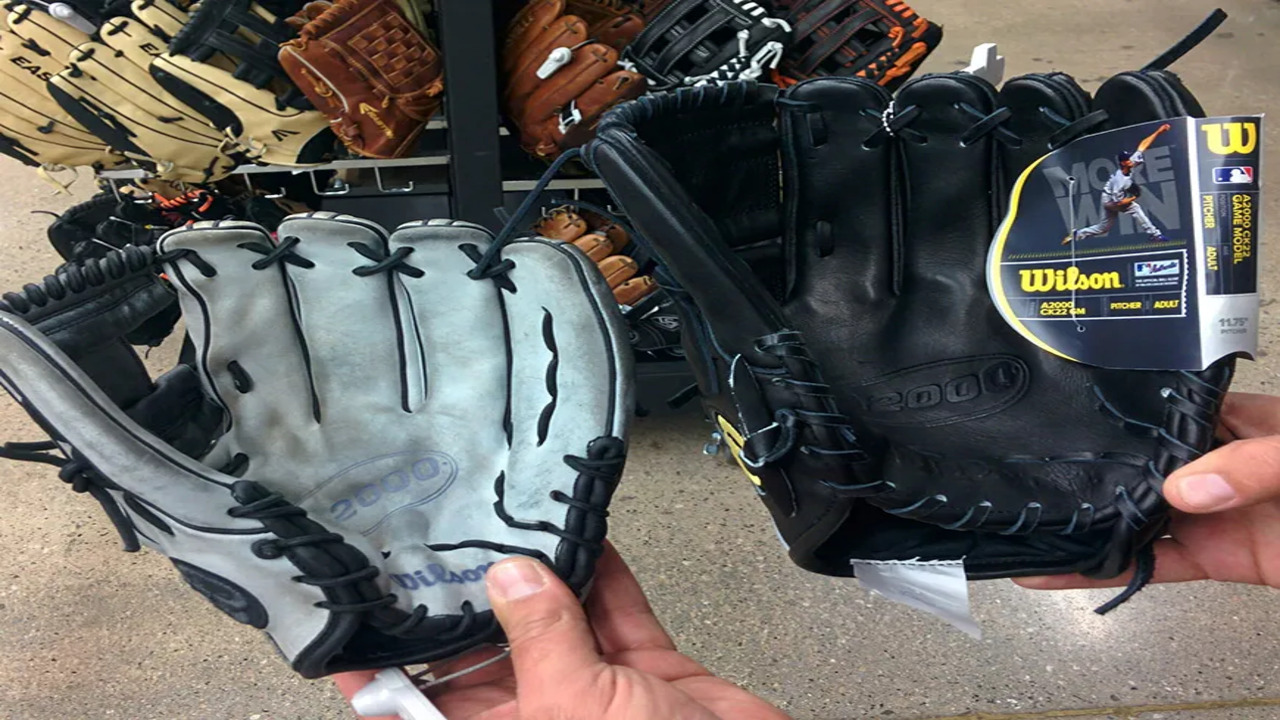
Breaking in a catcher’s mitt can be a difficult process, but with the right technique and enough time, it can be done properly. Catcher’s mitts need to be broken in to ensure they are comfortable and ready for use. It is important to break in the mitt correctly to ensure it is ready for use and that it will last for many years.
With the right techniques and enough time, you can break in your catcher’s mitt and be more prepared for the upcoming season. Breaking in your catcher’s mitt can be a lengthy process, however taking the time to do it right will be worth it in the end.
Learning how to break in a catcher’s mitt can be a difficult process, but with the right technique and enough time, it can be done properly.

Breaking In A Catcher’s Mitt: Tips & Tricks

Breaking in a catcher’s mitt is a process of softening and shaping the leather so that it is comfortable to use and provides a better fit for the catcher. While some people may prefer to use the mitt without breaking it in, doing so can make a big difference in terms of comfort and performance.
In this article, we will look at how to break in a catcher’s mitt in the most effective way possible. We will discuss the best materials to use, the best methods to use, and the benefits of a broken-in catcher’s mitt. With the right techniques, you can break in your catcher’s mitt and enjoy the best possible performance.
Preparing The Mitt

Breaking in a catcher’s mitt is a must for any catcher looking to optimize their performance. Preparing the mitt is the first step in the process and requires a few simple steps.
- Start by removing any tags that are still attached to the mitt.
- Use a mitt mallet, or even just a hammer, to pound the glove into the desired shape.
- Work the glove by catching a ball in it and then squeezing the mitt together.
- Put a ball in the pocket and wrap it up with a belt.
- Put the mitt in a warm and humid place for a few days.
After a few days, the mitt should be ready to use. Make sure to keep the mitt conditioned and oiled to keep it in top shape. Breaking in a catcher’s mitt is an important part of being a catcher, and these steps should help you get your mitt ready for use.
Softening The Leather
Softening the leather of a catcher’s mitt is an important part of breaking in the glove. To do so, use a soft cloth and some leather treatment or oil to soften the leather. Rub the oil or leather treatment into the glove in a circular motion, making sure to cover the entire surface. If the leather is still stiff, repeat the process a few times. Leave the glove to sit overnight, and it should be ready to use the next day.
Oiling The Glove
Oiling a catcher’s mitt is an important step in breaking in the glove. Applying oil helps the leather fibers become more flexible and soft. It also helps the glove keep its shape and last longer. To oil the glove, apply a leather conditioner or glove oil to the entire mitt, working it in with your hands. Apply a thin layer to the glove and allow it to sit overnight before using it.
Adding A Ball
Adding a ball to a catcher’s mitt is a great way to break it in. Before adding a ball, make sure to rub a glove conditioner into the mitt to soften it up. After the mitt is conditioned, place a baseball inside the mitt and close the glove. Then, tie the glove with a rubber band to keep the ball in place. Finally, pound on the mitt with your hand or a mallet to help shape the pocket.
Stretching The Mitt
Stretching the mitt is an important part of breaking in a catcher’s mitt. To stretch the mitt, start by putting your hand inside the mitt and pushing it out with your fingers. Then, grab hold of the mitt and pull it in different directions.
This will help to loosen the leather and make it easier to break in. Lastly, use a baseball or a softball to break in the mitt. Place the ball in the pocket and squeeze it to help it form to your hand.
Breaking In The Mitt

in article section Breaking in a catcher’s mitt is an important part of keeping your glove in good condition and ready for use. It is important to understand the proper steps for breaking in a glove so that it can last longer and perform better. Here are some tips for breaking in a catcher’s mitt:
- Oil the Mitt – Apply a light coat of baseball glove oil to the entire mitt. This will help to soften the leather and prevent it from drying out. Allow the oil to soak in for a few hours before using the glove.
- Form the Pocket – Use your hand to form the pocket of the mitt. Push the mitt into the desired shape and then use a baseball or other round object to reinforce the shape. Put the ball in the pocket and close the mitt around it. This will help to form the pocket and keep it in shape.
- Work the Glove – Use your hands to work the leather of the mitt. Flex it in all directions and press it firmly to help break it in. You can also use a glove mallet or other device to help work the leather.
- Condition Regularly – Be sure to condition the mitt regularly with a leather conditioner or oil. This will help to keep the leather soft and prevent it from drying out and cracking.
By following these simple steps, you can keep your catcher’s mitt in good condition and ready for use. Breaking in a mitt properly can help to extend the life of the glove and improve its performance. Taking the time to break in a glove properly can be an important part of your success as a catcher.
Making A Pocket
Making a pocket in a catcher’s mitt is an important step to ensure that the glove conforms to the shape of the ball. To do this, start by placing the ball in the middle of the mitt and pushing down with your fingers. This will create a pocket that is the right size for the ball.
Next, use the palm of your hand to press and move the leather around the ball, creating an even pocket for the ball. Finally, make sure the pocket is secure by using a leather lace to secure the pocket in place.
Shaping The Mitt
Shaping the mitt is the first step in breaking in a catcher’s mitt. It involves molding the mitt to the catcher’s hand to ensure a good fit. To do this, the catcher should wrap the mitt around their fingers, and then use a mallet to gently pound the back of the mitt until it takes the shape of their hand. This will help create a comfortable and secure fit, and help the mitt last longer.
Doing The Roll Catch
Doing the roll catch is an important skill for any catcher to learn. To do this, the catcher must place the mitt on the ground and roll the ball towards it. The catcher should then scoop up the ball with the mitt and bring it back up to their chest. This is a great way to break in the mitt and get used to catching the ball.
Playing Catch
Playing catch is a great way to hone your accuracy and precision with a baseball. To get started, you’ll need a glove, ideally a catcher’s mitt. Breaking in a catcher’s mitt can be a bit tricky, but it’s not impossible. Here are some tips to help you get the perfect fit.
Conclusion
Breaking in a catcher’s mitt is essential for a comfortable fit. To break it in, rub the mitt with a soft cloth and a small amount of leather conditioner, and then wear it while playing catch. After several sessions, the mitt should be nicely broken in and ready for use.
FAQs
1.What Is The Best Way To Break In A Catcher’s Mitt?
Ans: The best way to break in a catcher’s mitt is to hit the pocket with a mallet, wrap it in a towel and run a blow dryer over it on low heat, oil the leather and shape it with your hand, and use it in practice. This will help it to form to the shape of your hand and become softer and more flexible.
2.Are There Any Special Techniques For Breaking In A Catcher’s Mitt?
Ans: Yes, there are special techniques for breaking in a catcher’s mitt. The most common technique is to rub the mitt with a softening agent like shaving cream or oil, then work the mitt by hand to soften the leather. Additionally, you can wrap the mitt with a baseball and place it in a warm area for a few days to help break it in. Finally, you can hit the mitt with a mallet to help break it in.
3.How Long Does It Typically Take To Break In A Catcher’s Mitt?
Ans: It typically takes between 1-3 weeks of regular use to break in a catcher’s mitt. During this period, the leather of the glove will become more pliable and comfortable to use. During the break in period, the glove should be treated and conditioned regularly with a glove conditioner or oil to help soften the leather. Once the glove is broken in, it should fit much more comfortably on the hand.
4.What Is The Difference Between Breaking In A New Catcher’s Mitt Versus An Old One?
Ans: The difference between breaking in a new catcher’s mitt versus an old one is that with a new one, you will need to work on softening the leather and forming the glove to fit your hand. With an old one, the leather will already have been softened and the glove will already be formed to the shape of the previous owner’s hand, so you will not need to do as much work. However, you may need to work on restoring the glove back to its original shape, so that it is comfortable for you to use.
5.Are There Any Tips For Maintaining A Catcher’s Mitt After It Has Been Broken In?
Ans: Yes, there are several tips for maintaining a catcher’s mitt after it has been broken in. First, it is important to use a leather conditioner to keep the leather soft and supple. Second, it is important to store the mitt in a cool, dry place when not in use. Third, it is important to use a light weight oil to keep the leather from cracking. Finally, it is important to avoid getting the mitt wet.

