Embroidery is an ancient art form that has been around for centuries. It has been used to decorate clothing, bags, and even furniture. Recently, however, people have been experimenting with embroidery on a variety of different objects, including baseball gloves.
But the question remains: Can you embroider a baseball glove? The answer is yes, you can! There are a few different methods to do so, and with the right materials and tools, it is easy to achieve a professional-looking result. In this article, we will discuss the various techniques and materials needed to embroider a baseball glove, as well as the end result.
With the right knowledge and effort, you will be able to bring a unique and personal touch to your favorite sports equipment. So, let’s get started and learn how to embroider a baseball glove.

Embroidering Baseball Gloves: A How-To Guide
Embroidery is a great way to personalize a baseball glove and add a unique touch to the item. It is possible to embroider a baseball glove, and with the right supplies and some practice, you can easily create a one-of-a-kind glove. In this article, we will outline the steps you need to take to embroider a baseball glove.
From choosing the right material and needle to mastering the basics of embroidery, this guide will help you get started on your project. So, if you’re ready to learn how to embroider a baseball glove, let’s get started!
Necessary Materials
Embroidering a baseball glove requires a few key materials. In order to complete the project, you’ll need embroidery scissors, a hoop, a needle, thread, stabilizer, fabric glue, and an embroidery design.
Embroidery scissors are sharp and small, perfect for snipping small threads at the end of a project. A hoop is a round frame used to secure the fabric while you embroider. You’ll also need an embroidery needle, made of a thicker material than a regular sewing needle.
Thread should be chosen to match the colors of your design. Stabilizer is a fabric backing used to give the project more support and make it easier to embroider. Fabric glue can be used to keep the stabilizer in place. Finally, you’ll need an embroidery design, which can be either purchased or printed from a computer.
Here is a list of the necessary materials:
- Embroidery scissors
- Hoop
- Embroidery needle
- Thread
- Stabilizer
- Fabric glue
- Embroidery design
With these materials, you’re ready to start embroidering your baseball glove!
Glove
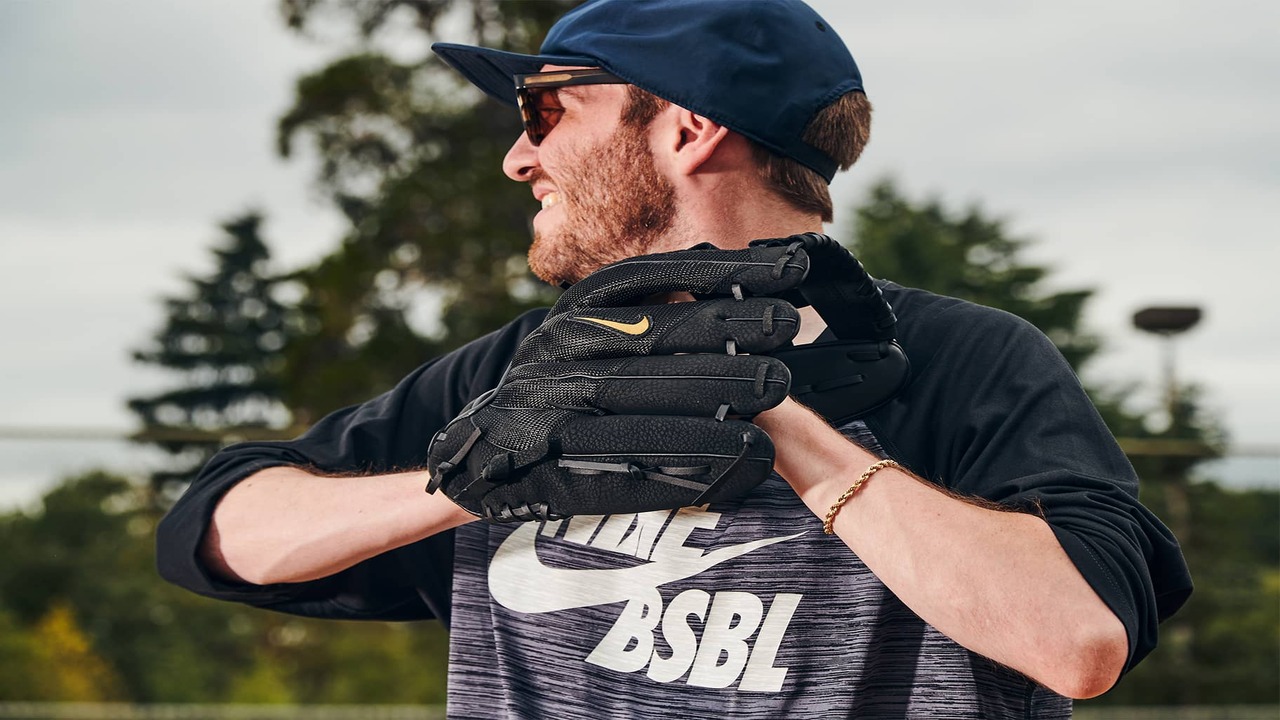
Gloves are an essential part of baseball equipment. They provide players with protection and grip when catching and throwing a ball. Many gloves are made from leather, while others are made from synthetic materials. It is possible to embroider a baseball glove with designs or personalization. This can be a great way to customize a glove and make it stand out on the field.
Thread
Thread is an essential tool for embroidering a baseball glove. It comes in a variety of colors and sizes, so it’s important to choose the right thread for the job. The most popular type of thread for embroidering a baseball glove is polyester, which is strong and durable.
Cotton and nylon threads are also great options, as they can create a nice, even finish. When selecting thread, be sure to consider the color of the glove as well as the design you want to create.
Needles
Needles are an important tool when embroidering a baseball glove. They come in various sizes and types, so choosing the right one is essential. The best needle for embroidering a baseball glove is a sharp, medium-sized embroidery needle. This will ensure that the needle will penetrate the glove without causing too much damage.
Embroidery Hoop
The Embroidery Hoop is an essential tool for embroidering a baseball glove. It helps to hold the glove in place and keep the fabric taut while you work. The hoop also helps to stabilize the fabric and make it easier to embroider intricate designs. With the right size hoop, you can get the perfect shape and size for your design.
Preparing The Gloves

Embroidering a baseball glove is a great way to customize the look of your glove and make it unique. Before you start, however, you need to prepare the glove for stitching. This involves cleaning the glove, marking the pattern on the glove, and pre-punching the holes. With the right preparation, your embroidery will turn out perfect every time.
First, you must clean the glove. Use a damp cloth to remove any dirt or oils that have built up on the surface. This will ensure that the embroidery thread will adhere to the glove properly.
Next, you must mark the pattern on the glove. This can be done with a marker or a water soluble pen. Make sure to mark the pattern clearly for easy reference when stitching. Finally, you must pre-punch the holes. This can be done with an awl or a leather punch. This will help the embroidery thread to slip through the leather more easily.
By following these steps, you can prepare your glove for embroidery and ensure that your design will turn out perfectly. With the right preparation, you can create a unique and personalized baseball glove that is sure to stand out.
Cleaning
Cleaning your baseball glove is a very important step to ensure it lasts a long time. Cleaning should be done regularly and carefully, using a soft brush and mild soap. You can also use a leather conditioner to help keep the glove soft and supple.
Marking The Design
Once you have decided on the design you want to embroider on your baseball glove, the next step is to mark the design. This is done by tracing the pattern onto the glove with a fabric marker. Make sure you use a marker that is designed for use on fabric, as this will give you the best results. Once the design is marked on the glove, you are ready to begin the embroidery process.
Attaching The Hoop
Before attaching the hoop to the glove, make sure the hoop is securely fastened to the base. Next, place the hoop on the glove in the desired position. Finally, use a screwdriver to tighten the hoop screws. This will help keep the hoop securely attached to the glove.
Embroidering
Embroidering is a craft that has been around for centuries. It’s a way to add a personal touch to fabric and clothing items, that can be used to commemorate special events or to simply add a unique style to a piece. While most of us think of embroidery as a way to adorn clothing items, it can also be used to embroider other items such as baseball gloves.
Embroidering a baseball glove requires some skill and patience, but the results can be stunning. To embroider a baseball glove, you will need a few materials. These include an embroidery hoop, embroidery floss, fabric markers, a needle, and the glove itself.
- Once you have the materials, you will need to select your design. You can find designs online, or you can create your own.
- Once you have your design, cut out the pattern and trace it onto the glove.
- Next, use the embroidery hoop to keep the area of the glove you are working on taut.
- Begin by threading the needle with the embroidery floss. Start at the back of the glove and work your way outwards.
- Take care to follow the pattern as closely as possible.
- When you are finished, use the fabric markers to outline the design and add detail.
Embroidering a baseball glove is a great way to add a personal touch to an item that is usually just plain. With a bit of skill and patience, you can create a unique piece that will be cherished for years to come.
Threading The Needle
Threading the needle is an important skill when it comes to embroidering a baseball glove. This technique requires attention to detail and a steady hand to ensure that the thread is securely in place. It also helps to use a needle that has a large eye so the thread is easier to thread.
To thread the needle, start by carefully pulling the thread through the eye of the needle. Then, hold the needle and thread in one hand and use the other hand to make a loop in the thread. Finally, pull the loop through the needle’s eye and secure the knot. With practice, threading the needle can become an easy task.
Making The Stitches
Making the stitches is the most important part of embroidering a baseball glove. It requires a steady hand and patience. To begin, thread a needle with embroidery floss. Then, select the design you would like to embroider onto the glove.
Start stitching by taking small, even stitches, forming the design as you go. Always keep the tension on the stitches even so they look neat and uniform. When you are finished, tie off the thread and trim any excess. Now, your baseball glove is ready to show off!
Finishing Touches

Once the embroidery is complete, there are a few finishing touches you can add to the glove. Adding a decorative border to the glove gives it a professional look. You can also use a fabric marker to personalize the glove with names or special messages. Finally, you can use a leather or fabric protector to make the glove more durable and make it last longer.
Conclusion
Embroidering a baseball glove is definitely possible. With the right supplies and techniques, the process is relatively simple and can add a personal touch to any glove. Consider adding a name, number, or team logo to make the glove truly unique. With a few supplies and some practice, anyone can learn to embroider a baseball glove for a unique look.
FAQs
1.What Type Of Thread Is Typically Used For Baseball Glove Embroidery?
Ans: Polyester thread is typically used for baseball glove embroidery. It is strong and durable, and can withstand the wear and tear of a glove over time. Furthermore, the polyester thread is colorfast, so it can be used with a variety of colors without fading or running. It is also resistant to mildew, which is important, since gloves are often exposed to moisture.
2.What Type Of Needle Is Required For Embroidering A Baseball Glove?
Ans: A size 90/14 topstitch needle is the best type of needle for embroidering a baseball glove. This type of needle has a sharp point and a wide eye, which allows for thicker embroidery thread to pass through the needle easily. It is also strong enough to handle multiple layers of fabrics and embroidery stitches, which makes it ideal for this type of project.
3.What Is The Best Way To Transfer An Embroidery Design To A Baseball Glove?
Ans: The best way to transfer an embroidery design to a baseball glove is to use a transfer paper and iron-on adhesive. First, place the transfer paper image-side down and iron it onto the glove. Next, trace the design with a fabric marker and remove the transfer paper. Finally, embroider the design onto the glove using a needle and thread.
4.How Do You Secure The Embroidery Thread To The Glove Before Stitching?
Ans: The first step is to tie a knot at one end of the thread and insert the needle through the glove fabric. Then, hold the thread in place with your thumb and index finger and start to stitch. As you stitch, periodically secure the thread in place by taking a few small stitches at the base of the thread. Finally, when you are finished stitching, tie a knot at the end of the thread to keep it secure.
5.How Do You Finish Off The Embroidery Stitching On A Baseball Glove?
Ans: To finish off the embroidery stitching on a baseball glove, start by cutting the excess thread with scissors. Knot the remaining thread twice to ensure the stitch is secure. Finally, use a needle to weave the thread into the back of the glove and clip off any excess thread. This will help secure the stitch and keep the embroidery from fraying.
{“@con
