Painting a baseball bat may seem simple, but achieving a professional-looking finish requires precision and attention to detail. Whether you’re a professional athlete looking to customize your equipment or a beginner wanting to add a personal touch to your own bat, knowing how to paint a baseball bat properly is essential.
The right paint choice and technique can enhance the bat’s appearance and improve its durability and performance. Here, we will walk you through the step-by-step process of painting a baseball bat, from preparing the bat to the finishing touches. So, grab your paintbrushes, and let’s get started on your DIY baseball bat project.
Step By Step Processes To Paint A Baseball Bat
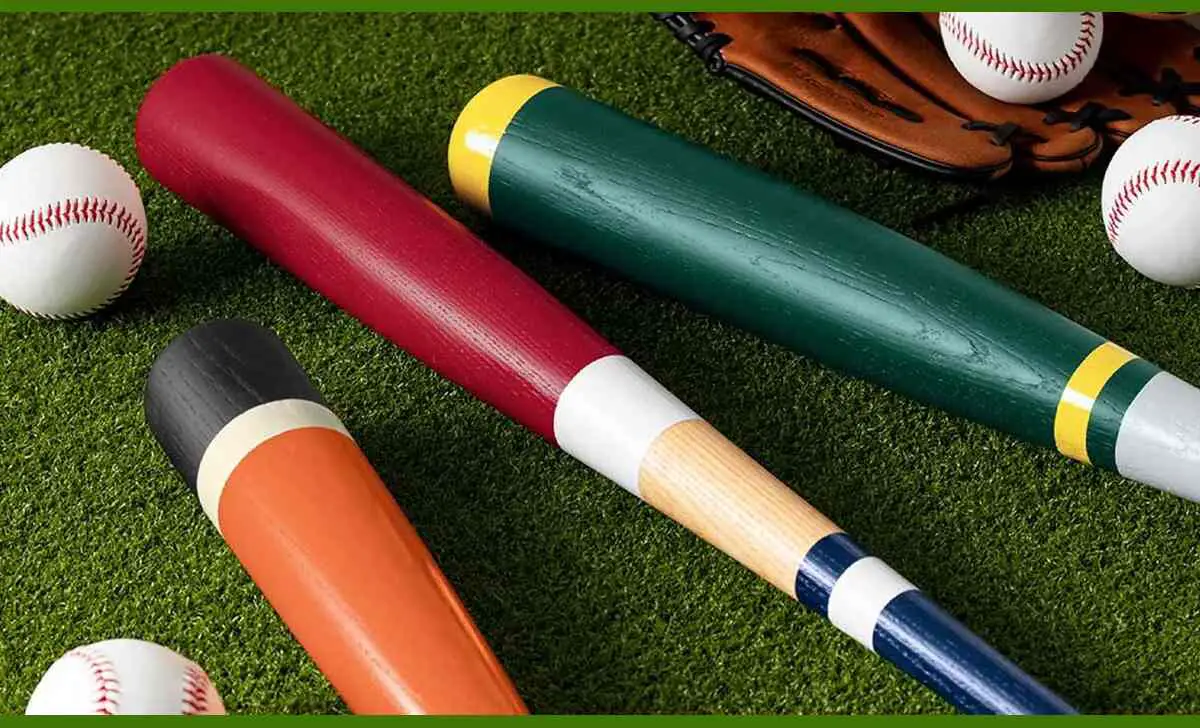
Painting a baseball bat is more than just a cosmetic choice – it serves an important purpose in enhancing the performance and durability of the bat. The paint acts as a protective layer, shielding the wood or metal from moisture, dirt, and other elements that could potentially damage or weaken the bat.
Additionally, painting a baseball bat can also improve its grip and feel, allowing players to have better control and accuracy when swinging. Here are some steps on how to paint a baseball bat.
Preparing The Baseball Bat For Painting
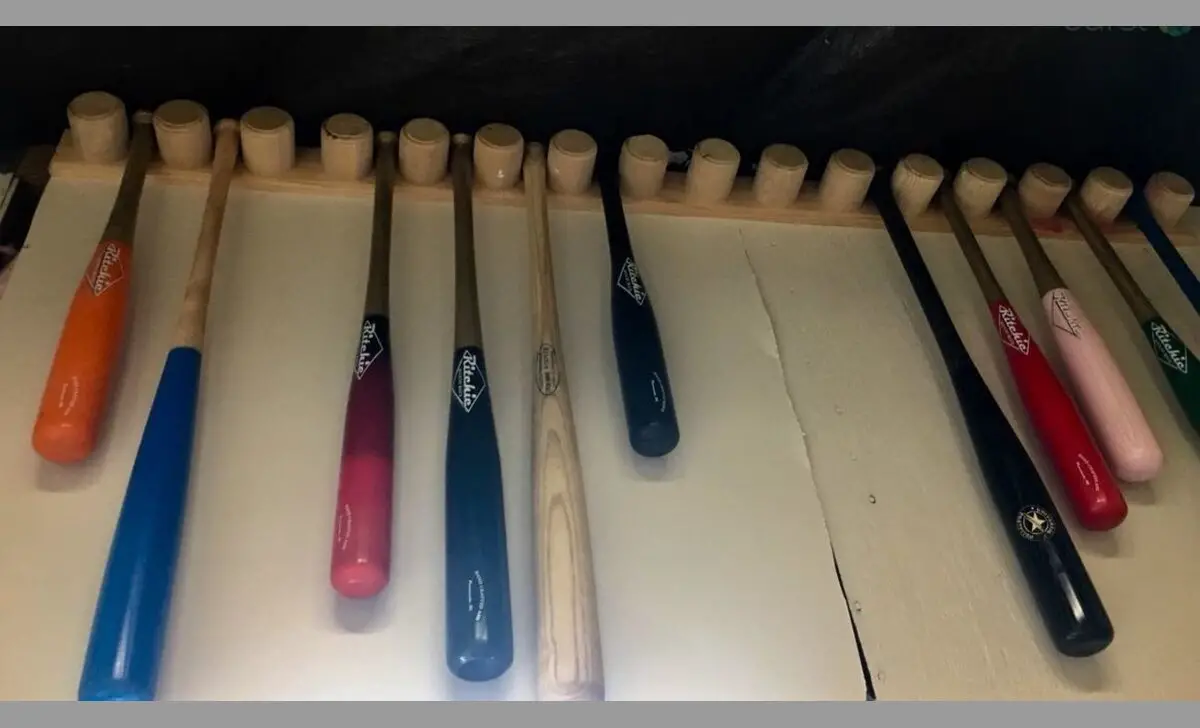
Before applying paint to your baseball bat, properly preparing the surface is important. Start by sanding the bat to remove any existing paint or finish, creating a smooth base for your new paint job. Cleaning the bat with a degreaser, soap, and warm water will help remove dirt or debris.
Applying a primer will help the paint adhere better to the bat. After sanding and priming, choose the right paint for your bat. Maple billets are often preferred for high-quality baseball wood bats due to their durability and performance.
Choosing The Right Paint And Supplies
Selecting the right paint and supplies is crucial for a successful paint job. Consider using enamel paint, which provides a glossy finish and durability, perfect for a baseball bat. Spray paint is often popular when applying the paint as it offers even coverage and a professional finish.
Applying a clear gloss spray paint can enhance the bat’s overall appearance for a glossy appearance. Whether you are a seasoned DIY expert or a beginner, choosing easy-to-use paint and supplies is important to ensure your enjoyable and successful painting experience.
It would be best if you considered using high-quality black paint, strong and durable aerosol paint, or vibrant coloured paint for your project.
Sanding And Priming The Baseball Bat
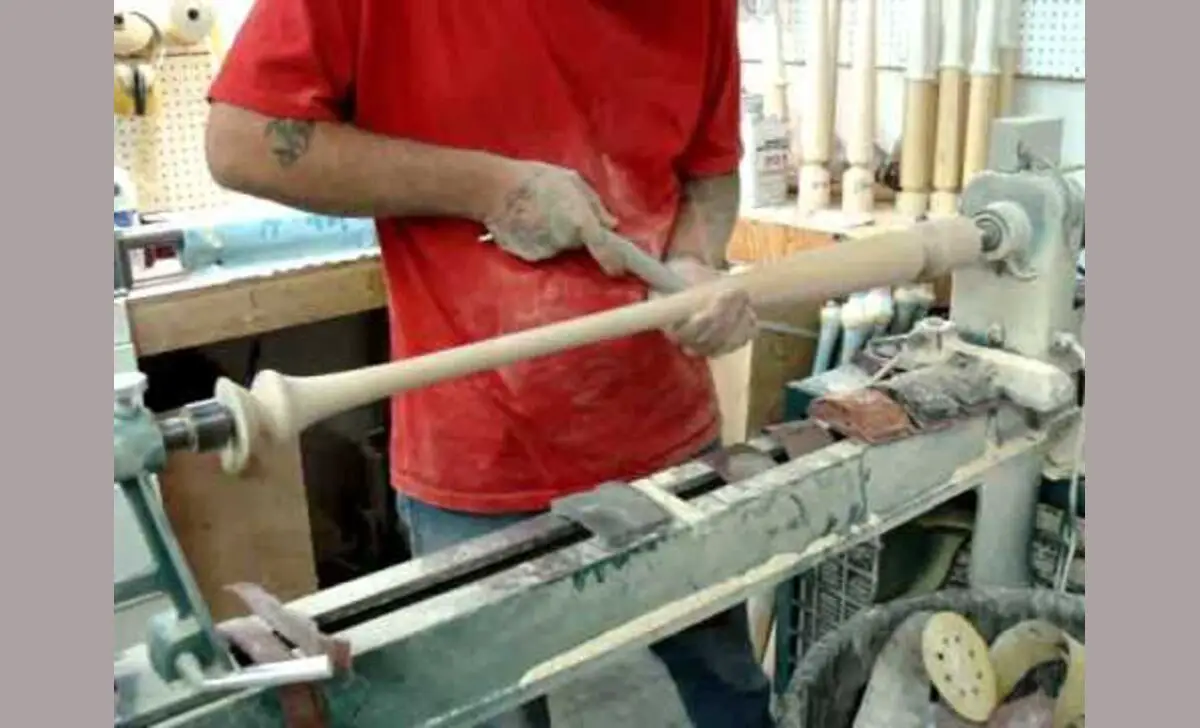
To achieve a smooth surface for painting, start by sanding the baseball bat. This process helps remove any existing finish or rough spots. Once the bat is sanded, apply a primer for wood surfaces. Primer helps the paint adhere better and ensures more even coverage, creating a professional-looking finish.
Consider using polyurethane as a final protective coating, providing added durability and enhancing the overall appearance of the bat. Proper sanding and priming are crucial steps to prepare the bat for a flawless paint job.
Applying The Base Coat Of Paint
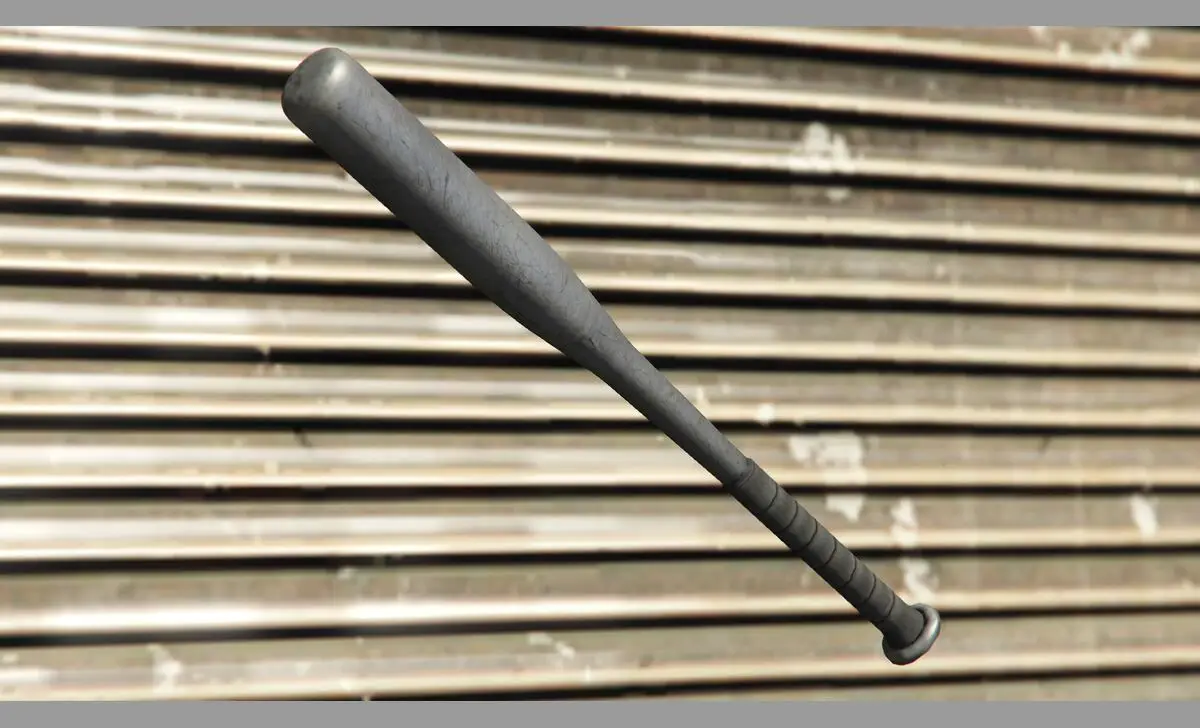
After properly preparing the baseball bat, it’s time to apply the base coat accent colours of paint. Start by cleaning the bat and ensuring the surface is free from any debris. Apply multiple thin coats of spray paint, allowing each coat to dry completely before adding the next.
This will ensure a smooth, even finish. Consider using gloss spray paint for a shiny, professional look. Take your time and patience while applying the paint, as rushing can result in uneven coverage. Following a DIY guide will help you achieve the desired outcome. Applying the base colour of black paint, with hints of blue colours, to achieve the desired current colour.
Adding Designs Or Logos To The Baseball Bat
One of the reasons for painting a baseball bat is to add unique designs or logos. After the base coat has dried, use painter’s tape to create clean lines or shapes on the bat’s surface. This will act as a stencil, allowing you to add intricate designs or paint specific areas of the bat.
Whether you choose to freehand your designs or use stencils, make sure to plan them out carefully before applying paint. Take your time and be precise, aiming for a professional-looking result. Once the designs are complete, allow the paint to dry fully.
Applying A Clear Coat For Protection And Durability
Applying a clear coat is essential to protect your painted baseball bat and ensure its longevity. Consider using lacquer or varnish as a clear protective layer over the paint. This coat not only adds durability but also provides a glossy finish, enhancing the overall appearance of the bat.
Apply the clear coat in thin layers, allowing each layer to dry completely before applying the next. Sanding the bat lightly between coats can help achieve a smoother finish. Once the clear coat is applied, allow it to dry fully before handling or using the bat.
Curing And Drying The Painted Baseball Bat
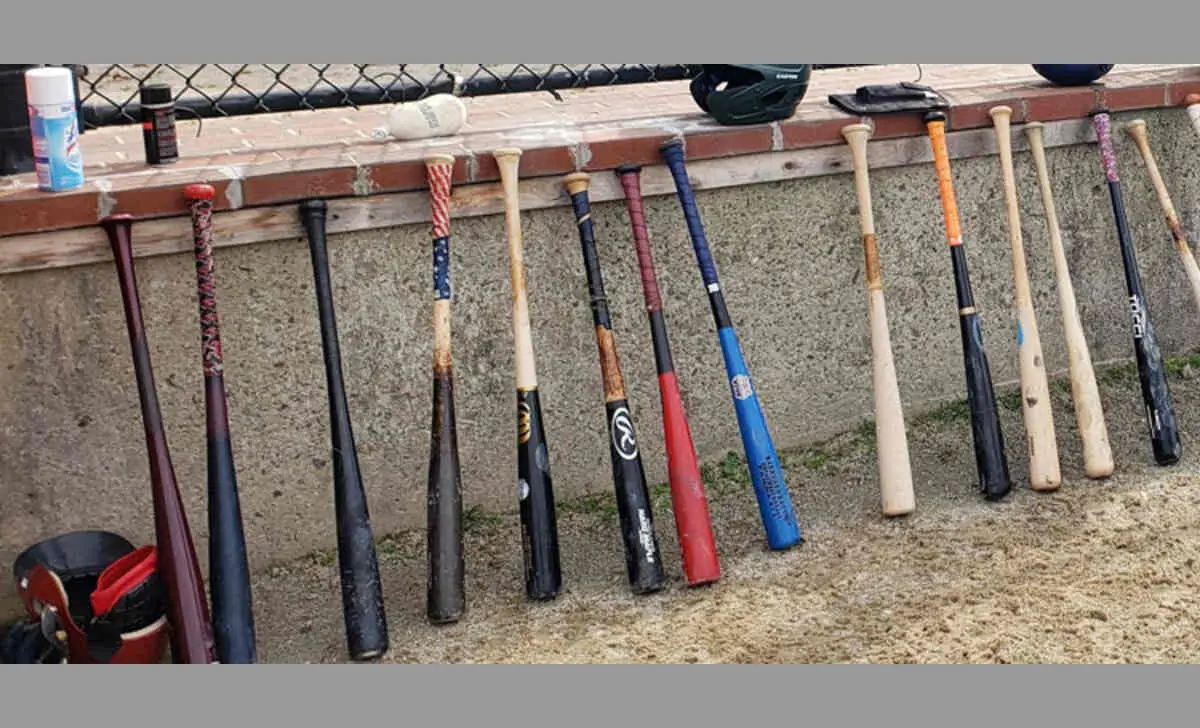
After painting and applying the clear coat, the bat needs time to cure and dry properly. Proper curing time is essential for the paint’s durability, so be patient. Hang the bat in a well-ventilated area for 24-48 hours, allowing the paint to cure fully.
During this time, avoid touching or using the bat to prevent damage to the paint cleaner. After the curing process, ensure the painted bat is completely dry before handling or using it in a game. Remember to follow manufacturer recommendations for specific paint curing and drying times and techniques.
Tips And Tricks For A Professional-Looking Finish
Painting a baseball bat can be a fun and rewarding DIY project. By following these tips and tricks, you can achieve a professional-looking finish when painting a baseball bat. Get creative with colours and designs to make your bat stand out on the field. To achieve a professional-looking finish, here are five tips and tricks to keep in mind:
- Start With Proper Preparation: Clean the bat thoroughly to remove any dirt or residue before painting. Sand the surface lightly to create a smooth base for the paint to adhere to.
- Use The Right Materials: Choose a high-quality primer and paint specifically formulated for wood surfaces. This will ensure better coverage and durability.
- Apply Multiple Thin Coats: Instead of one thick coat of paint, it’s best to apply multiple thin coats. This will help prevent drips and ensure an even finish.
- Allow For Adequate Drying Time: Between each coat of paint, allow sufficient drying time as indicated on the product label. Rushing the process can lead to smudges or imperfections.
- Finish With A Protective Topcoat: Apply a clear topcoat to protect the painted surface from wear and tear. This will provide added durability and give your baseball bat a glossy or matte finish.
How To Clean Up After Painting Your Epoxy Baseball Bats

Cleaning up after painting your epoxy baseball bats is a fairly simple process. First, you’ll want to gather all of the necessary materials, including black spray paint, colored paint, gray paint, and any other colors of paint that you may be using.
Start by removing any excess paint from the bats using a scraper or a putty knife. Then, use a cloth or sponge dampened with warm soapy water to gently scrub away any remaining paint. If there are stubborn spots or stains, you can try using a mild solvent or rubbing alcohol to help remove them.
Once the bats are clean, allow them to dry completely before applying any additional coats of paint. This method of paint cleanup should leave your epoxy baseball bats looking fresh and ready for the next game.
Conclusion
Painting a baseball bat can be a fun and creative way to personalize your equipment. You can achieve a professional-looking finish by following the step-by-step guide on how to paint a baseball bat and using the right materials.
Remember to prepare the bat properly by sanding and priming it, and choose high-quality paint suitable for the job. Adding designs or logos can further enhance the look of your bat.
Apply a clear coat for protection and durability, and let the bat cure and dry thoroughly before using it. With these tips and tricks, you can create a unique and customized baseball bat that stands out on the field.

