As a catcher in the game pants of baseball, your position is vital to your team’s success. With the responsibility of protecting the plate and handling the pitches thrown by your pitcher, you must have the proper gear to perform your duties effectively.
One of the most essential equipment for a catcher is their gear, which includes a helmet, chest protector, and leg guards. Putting on this gear correctly ensures your safety and allows you to move freely and confidently behind the plate.
Here, we will discuss the step-by-step process of how to put on catcher gear professionally and efficiently. Whether you are a beginner to the position, it will provide you with the necessary knowledge and techniques to properly don your catcher’s gear for maximum protection and performance.

How To Put On Catchers Gear?
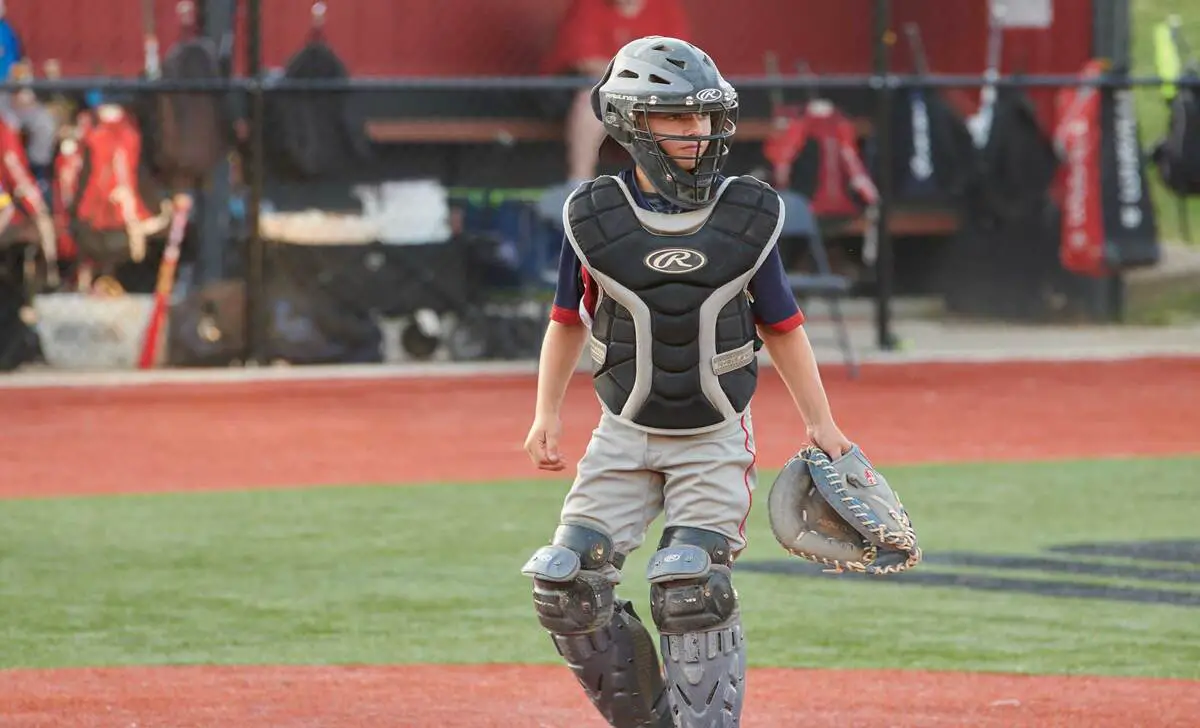
Putting on catcher gear is crucial in protecting players from potential injuries during games and practices. Catcher gear encompasses a variety of essential pieces for a catcher, including a helmet, chest protector, leg guards, and a mitt specifically designed for catching. To put on catcher gear, follow these steps:
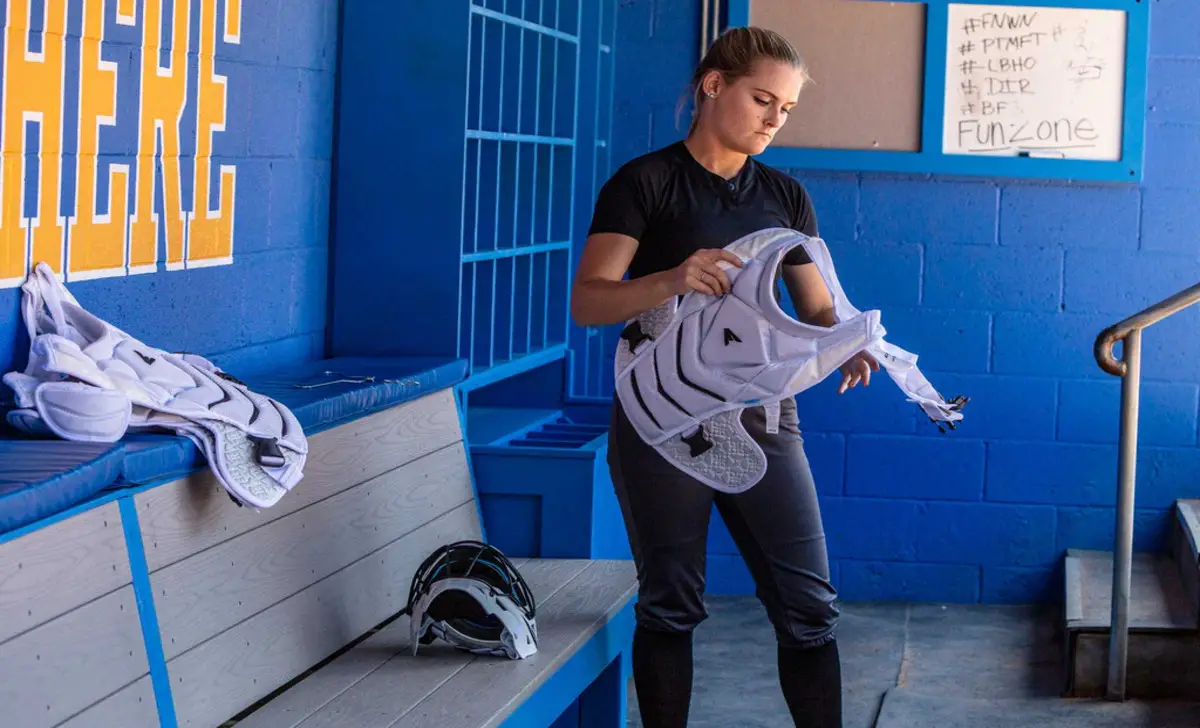
- Start by putting on the chest protector. Slip your arms through the designated armholes and secure any straps or buckles to ensure a snug fit. Adjust the straps as needed to ensure freedom of movement without compromising protection.
- Next, put on the leg guards. Slide your feet through the designated openings and secure any straps or fasteners to keep them in place. Make sure the leg guards cover your shins and Knee Savers adequately for protection.
- Put on the catcher’s helmet or mask. Place the helmet over your head, ensuring it fits comfortably and securely. Fasten any straps or buckles to keep it in place. Ensure that your vision is clear and unobstructed.
- Don the catcher’s mitt. Slide your hand into the mitt and adjust the straps or laces to ensure a secure fit. Ensure the mitt is easily maneuverable and lets you catch and handle the ball effectively.
- Lastly, ensure you properly adjust and secure all the gear. Make any necessary adjustments to ensure a comfortable and protective fit. Double-check and securely fasten all straps, buckles, and fasteners.
Catcher’s Mask
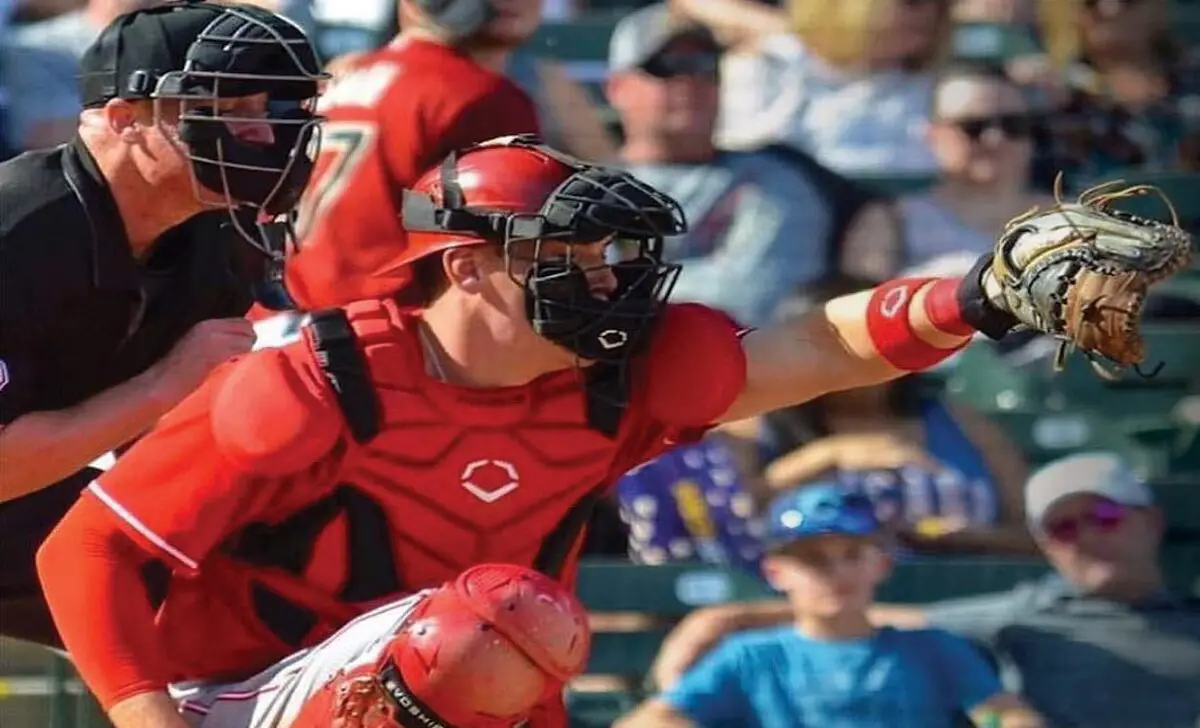
The catcher’s mask protects the player from objects coming at him while they are catching. One can wear many adult masks on the baseball field, but knowing how the catcher’s mask works is important.
To wear your new performance-style mesh helmet, break it down by breaking down the four pieces that make up a mask. Your catcher’s mask should have a harness for easily attaching chin protection straps and an adjustable jaw protector under your chin.
If you discover holes in your Protective Chest Guard equipment that could leave you unprotected during play, leave the game to buy a new mask so you can ensure that gravel ricochets or flying bats injure no one.
Chest Protector
The best chest protector comes in stages designed to fit and provide protection. Many types of shallow, deep, or medium protectors are on the market, including guards offering extra shoulder support and three padded types for thoracic protection. Torso protectors should give flexibility where needed and be easy to put on quickly during a game with no hassle for quick action.
Some manufacturers have unique features, such as padding in the areas where arms bend to make sure that you aren’t stuck with a bulky protector. Chest protectors should also have some type of ventilation feature because once school players sweat, it’s the Current Time for a change, and they need enough fresh airflow to stay cool without causing discomfort or overheating.
Double Check Your Protection Alignment
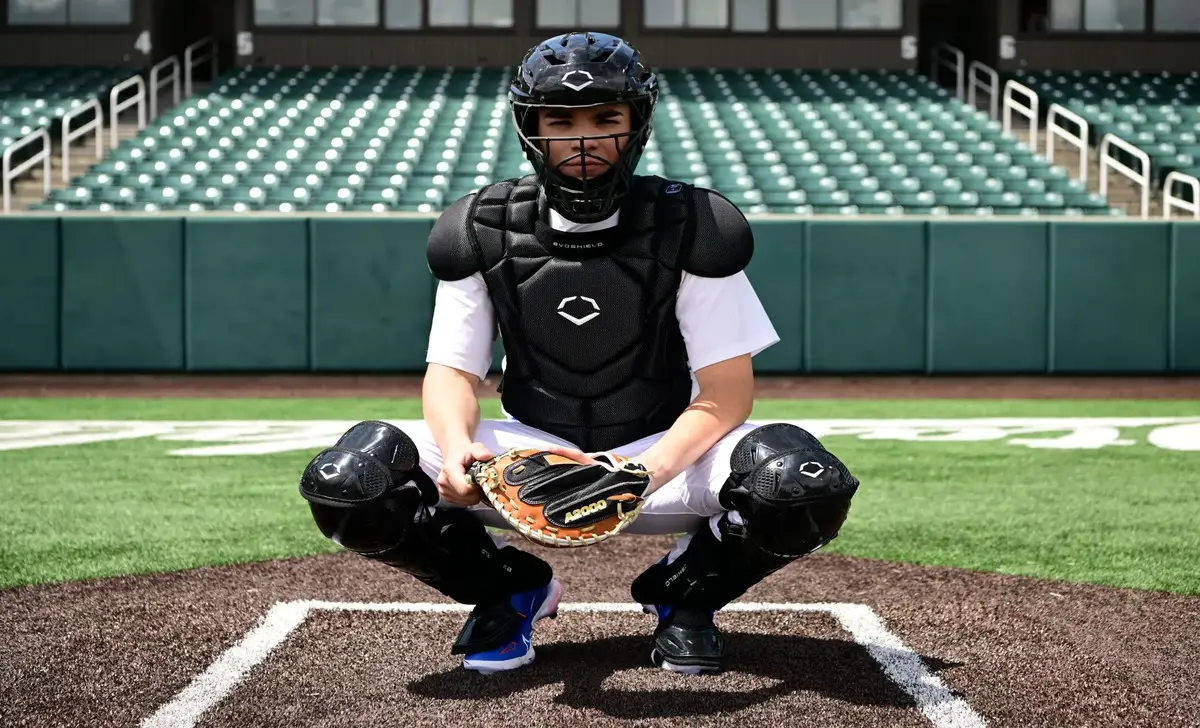
When looking at protective equipment, remember that no matter what kind of chest protector you buy, it needs to fit correctly. Checking for proper alignment and protection is a huge step towards ensuring coverage around your chest. If there are gaps between your equipment, this will leave areas of your body exposed more easily than with equipment that works together tightly. Protection from sharp objects should also be considered because players sometimes wear bottles on the field as part of their gear if needed.
Shin & Leg Guards
Shorter shin and leg guards should be employed since they offer more protection in those situations at a lower speed of play. For the long haul, full coverage is important to help prevent injuries that can put players out of commission for some time.
A breathable mesh or woven under sock (for added protection) should also be a consideration if you’re playing on wet surfaces because this will prevent blisters or injury-ridden feet from slipping Shin.
Catcher’s Mitt
The catcher’s mitt can be handy as a chest protector, but it’s more emphasized as protection for the catcher’s hands. It usually has pockets on both ends. So that they can either carry gear or keep their balls while fielding game-changing plays ground balls. Some varieties, such as “extended cowboys” or “thieves,” can also be worn on the field.
Finger & Wrist Guards
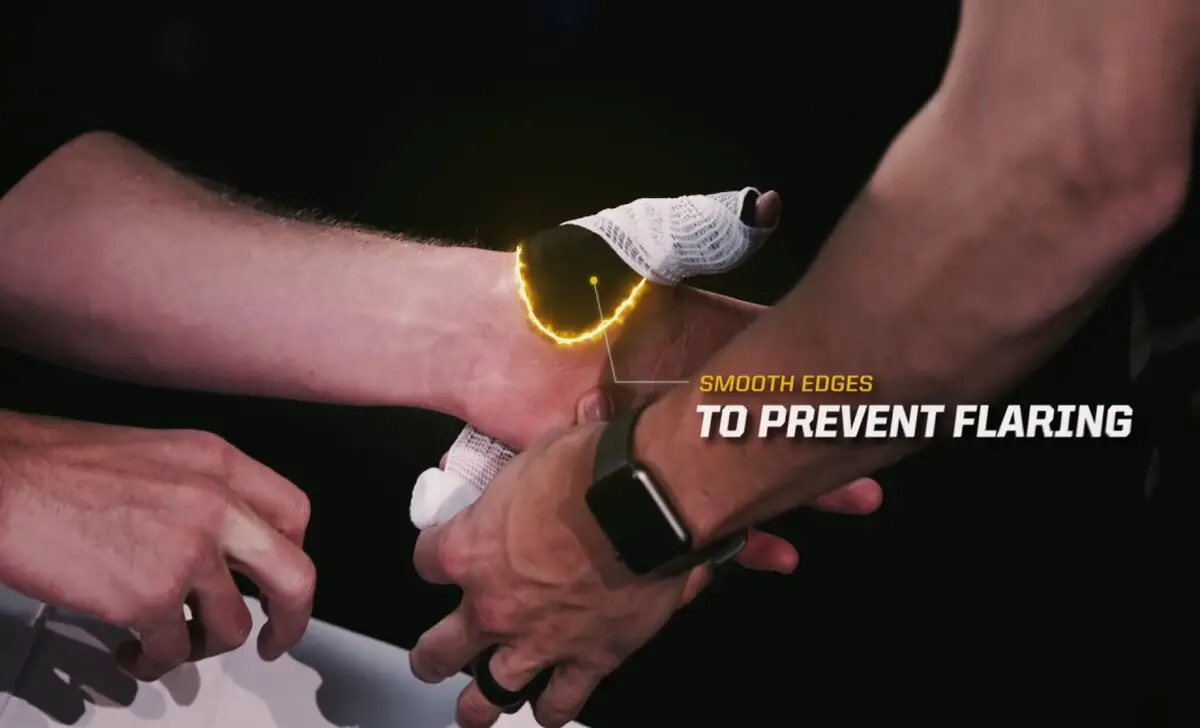
Protection against a fastball is constantly necessary with any variation of pitching since it’s hard to guess where and when a pitch will come from before it lands in your glove. In addition to covering fingers and wrists, multi-layers provide extra protection for areas such as the Achilles heel.
The thumb is one of the more vulnerable parts since it can get hit easily and cause a lot of pain. Some “sliders” are designed to be compression-free with just two layers for greater mobility.
The guard should ideally not inhibit movement so that you can direct your hand as quickly as possible, making throws, gripping balls, or catching fly balls. It’s also important that protection is not too thick.
Baseball Cleats
There are many kinds of cleats, but one common construction is a hard rubber or metal frame with mesh on the outside. These let air circulate for maximum comfort, reduce the amount of surface friction, and help to ward off metal shards when they land on the pitch, making them a necessary part of pitching shoes. Some cleats have built-in grips to suit several styles, such as shortstop, third baseman, or quarterback.
Molded Cleats
Molded cleats have high-density plastic upper leg guard straps with molded rubber material that sticks to the ground. Too soft, they can compress and transfer force onto bones in your foot.
More rigid ones are safer but can lead to injuries in low ankle inches. Sometimes, it’s necessary to walk in a scuff-resistant material to prevent the effect of soles compressing and transferring force onto bones.
Turf Cleats
Some pitchers prefer to wear turf shoes on the field so they have a better grip. Some foreign players, such as Bruce Chen of China, play baseball wearing cleats without studs or metal components.
You must choose your shoes carefully to prevent injury when wearing these rough, un-very-athletic shoes on dirt grounds and patches.
Interchangeable Cleats
Modern interchangeable cleats allow players to change shoes according to game situation and preference. Infielders sometimes use metal spikes on concrete as they grip better than rubber.
Even without spikes, you don’t need metal parts for your shoe’s sole to conform to the ground. These are worn by players such as Metta World Peace of basketball, who have used them as point guards and shooting guards during the NBA.
Metal Cleats
Some professional pitchers use metal cleats on the mound to get a better grip. Metal studs also significantly improve when choosing shoes (it’s unclear what countries). However, some pitchers have had pain problems when wearing metal due to how they can limit movement.
Drills
Pitching drills are the best way to practice certain skills and develop various throws out of your delivery:
- Tall Toss – makes you throw farther by strengthening your arm muscles up high rather than at a wall chucking in from an awkward angle – improves rotation and consistency of release point since every time you throw, you have a different starting point.
- Autopilot Drills – reinforce good habits and cast doubt on your potential for success, so it feels unique when everything goes in stride.
- Shuffle Drill – teaches your body to stay on top of the ball.
- Fireworks Highlight Reel – develops consistency and muscle memory.
Despite the differences like cleats, there are many similarities. Both have metal studs, give better grip, and allow for freedom of movement.
Through this alignment between the two products, they ultimately work to improve a player’s chance at success on the court or pitch field by creating new ways to get control of victory.
Cleaning Catcher’s Gear
Regarding catching a ball, safety is always the top priority. That’s why cleaning the catcher’s gear is so important. One crucial aspect of ensuring player safety is the proper use of catcher gear. Putting on catcher gear is an essential step every catcher must take before stepping onto the field.
Catchers gear includes a helmet, chest protector, and leg guards designed to provide maximum protection against potential injuries. Follow these simple steps to keep your gear in top condition:
- Wipe down the equipment with a damp cloth after each use.
- There are a few simple steps you can take to keep your gear clean and safe:
- Rinse and dry thoroughly.
- Remove any debris or dirt that may have accumulated.
- Clean the catcher’s gear regularly to prevent injuries.
Washing Catcher’s Gear
Putting on a catcher’s gear is an exhilarating experience many people take for granted. It’s important to properly wash the catcher’s gear before each use to ensure optimal performance. Washing it in hot water and detergent is best, but you can also use a machine if necessary. Hang it to dry or tumble-dry on low heat for protection against mildew. You’re good to go if you take the time to wash the catcher’s gear properly.
Painting Catcher’s Gear
Putting on catcher’s gear can be daunting, but preparing for every game is important. That’s why it’s a great idea to practice painting catcher’s gear on an outdoor practice field. This will help you get the hang of the gear and perfect your painting skills. Ensure the paint is evenly applied and covers all equipment, including the mesh. Finally, please wait at least 24 hours for the paint to dry before using it again.
Maintaining And Cleaning The Catcher’s Gear

Putting on catcher gear is not just a routine task but a vital responsibility that should never be overlooked. Catchers are uniquely positioned on the field, constantly facing balls thrown at high speeds and potential collisions at the plate. Without the appropriate gear, catchers would be exposed to severe injuries, such as concussions, broken bones, or even more serious consequences. Instructions for maintaining and cleaning the catcher’s gear are as follows:
- Remove all removable parts, such as straps, padding, and chin guards, for easier cleaning.
- Wipe down the exterior of the gear with a damp cloth to remove any dirt or debris.
- Use a mild soap or detergent to scrub the gear, paying extra attention to areas with sweat buildup.
- Rinse the gear thoroughly with clean water to remove any soap residue.
- Allow the gear to air dry completely before reassembling and storing it.
- Store the gear in a cool and dry place to prevent mold or mildew growth.
Safety Tips For Catchers
The importance of safety and protection cannot be overstated. Regarding the position of catcher, this notion holds even greater significance. Putting on catcher gear is a crucial aspect that every catcher must prioritize before stepping onto the field. Catchers’ gear safeguards against potential injuries, providing the necessary protection for the player in this physically demanding role. Below are safety tips for catchers.
- Always wear proper protective gear, including a helmet, chest protector, shin guards, and a cup.
- Position yourself behind the plate, with your knees bent and your body low to the ground.
- Communicate effectively with your pitcher and infielders to avoid collisions or misunderstandings.
- Be aware of the hitter’s swing and stay focused on the game at all periods.
- Practice good footwork and agility to quickly react to balls in the dirt or wild pitches.
- Use proper catching techniques, such as framing pitches and blocking balls with your body.
- Protect yourself from foul balls by staying alert and using your glove to shield your face.
Conclusion
Putting on catcher’s gear is an essential skill for any player in this position. Using proper technique and practice can make catcher gear seamless and efficient. Remember to always start with the chest protector, followed by the leg guards, and finish with the helmet.
It’s important to ensure that all straps and buckles are secure for maximum protection. Additionally, continuously adjust and tighten the gear throughout the game to maintain a comfortable and secure fit. Considering these tips, putting on catcher gear will become second nature for any baseball or softball player. Keep practicing, and have a successful season behind the plate.

