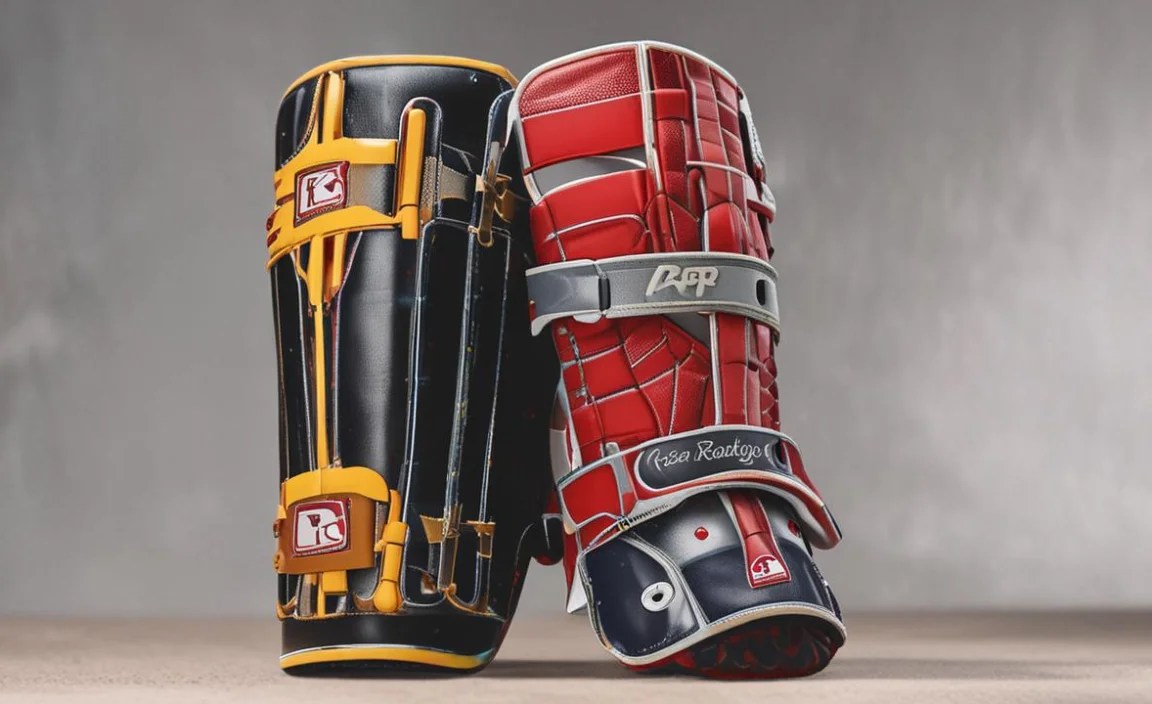
Rawlings catchers shin guards customized for an essential fit mean superior protection and improved comfort on the field. Properly fitted shin guards prevent injuries, allow for better movement, and boost confidence behind the plate, ensuring you can focus on the game, not your gear.
Ever felt that pinch or rub from ill-fitting shin guards? We’ve all been there. A catcher’s shin guards are crucial for protection, but what happens when they don’t feel quite right? That’s where a customized fit comes into play. It’s not just about avoiding discomfort; it’s about maximizing your performance and staying safe. Many players overlook this, leading to distractions and even injuries. But don’t worry, getting that perfect Rawlings catcher’s shin guard fit is easier than you think. We’re going to walk through exactly how to achieve it, step-by-step. Get ready to feel the difference a customized fit makes!
Why Your Rawlings Catchers Shin Guards Need a Customized Fit

Think of your catcher’s shin guards like a glove for your lower legs. They need to be snug and secure, but also comfortable enough that you forget you’re wearing them. When your Rawlings catchers shin guards are customized for a perfect fit, a few key things happen:
- Unmatched Protection: Shin guards are designed to absorb impact from foul tips, errant pitches, and collisions at the plate. If they shift or have gaps, they can’t do their job effectively. A snug fit ensures the protective padding is exactly where it needs to be, every single time.
- Enhanced Mobility: Catching involves a lot of quick movements – squatting, blocking, and throwing. Shin guards that are too loose or too tight can restrict your ability to move freely and quickly. A custom fit allows for flexibility and agility, so you can make those crucial plays.
- All-Day Comfort: Playing a full game or practice with uncomfortable gear is draining. Chafing, pinching, and pressure points can be a major distraction. The right fit means you can stay focused on your game from the first pitch to the last out.
- Injury Prevention: A poorly fitting shin guard can rub, cause blisters, or even lead to sprains if it causes you to alter your stance. Proper customization is a proactive step in keeping your legs and knees safe.
Understanding Rawlings Shin Guard Technology

Rawlings is a brand synonymous with quality baseball equipment, and their catcher’s gear is no exception. When looking at their shin guards, you’ll often find features designed with player comfort and protection in mind. They typically incorporate:
- High-Impact Plastic Shells: These outer shells are engineered to deflect and absorb the force of hard-thrown balls and bat impacts.
- Dense Foam Padding: Inside the shells, multi-density foam provides cushioning against direct impact and helps distribute force.
- Adjustable Straps: Most Rawlings shin guards feature multiple adjustable straps, usually Velcro, to allow for a customizable fit.
- Detachable/Adjustable Knee-Hugger: Some models have a knee component that can be adjusted or removed to provide extra protection and a better fit around the knee area.
- Ventilation: Look for designs that offer breathability. This helps keep you cooler and more comfortable during long games.
Understanding these components is the first step before we dive into how to make them fit you perfectly. All this technology is great, but it’s only effective if the gear is properly secured to your legs.
Measuring for the Perfect Fit: A Step-by-Step Guide

Getting the right measurements is the foundation of any custom fit. For catcher’s shin guards, we’re primarily concerned with two dimensions: the length from the top of the shin guard (which will sit just below the knee) to the ankle, and the width across the shin. Here’s how to do it:
Step 1: Measure Your Shin Length
You’ll need a flexible measuring tape. Stand straight with your foot flat on the ground. You’ll measure from the point where you want the top of your shin guard to sit (directly below your kneecap) down to the top of your shoe or where your foot begins to bend at the ankle bone. It’s usually best to have someone help you with this measurement for accuracy.
Pro Tip: Don’t measure from the very bottom of your kneecap. Instead, visualize where the guard ends and measure from there. This ensures the knee-hugging component (if applicable) sits correctly.
Step 2: Measure Your Shin Width
Measure across the widest part of your shin, about halfway between your knee and ankle. You’re essentially finding the circumference of your shin at this point and then dividing by two to get the width. You want enough width so the guards don’t dig in, but not so much that there’s significant overlap or gaps.
Step 3: Consider Your Foot Size and Cleat Height
While you aren’t measuring your foot directly for the shin guards, it’s important to consider how your cleats will interact with them. The bottom of the shin guard should extend over the top of your cleat, protecting your lower shin and ankle from foul tips. If you wear very high-top cleats, this might influence the ideal length of your shin guards.
Step 4: Try Them On (If Possible)
The best way to confirm fit is always to try them on. Wear the type of athletic socks you typically wear during games. Put on the shin guards and secure the straps. They should feel snug but not constricting. You should be able to bend your knee comfortably.
What to look for when trying them on:
- Coverage: Does the guard cover your knee cap fully and extend down to over your shoelaces?
- Stability: Do they stay in place when you squat or move?
- Comfort: Are there any immediate pressure points or discomfort?
- Straps: Can you easily reach and adjust the straps? Are they secure?
If you can’t try them on, rely on your measurements and the sizing charts provided by Rawlings. Many online retailers also offer detailed sizing guides based on leg measurements.
Adjusting Your Rawlings Catchers Shin Guards for a Custom Fit

Even when you select a size based on measurements, adjustments are almost always necessary to achieve that truly “custom” feel. Most modern Rawlings shin guards are designed with adjustability in mind.
Utilizing the Adjustable Straps
Rawlings shin guards typically feature multiple straps, often using Velcro. The general principle is to secure the guard snugly but allow for movement.
- Top Strap: This is usually the highest strap, often placed just below the knee. Tighten this strap to hold the upper portion of the shin guard in place and prevent it from sliding down. It should be snug enough to prevent movement but not so tight that it cuts off circulation or digs into the back of your knee.
- Middle Strap(s): These straps secure the main body of the shin guard. Adjust them to ensure the guard contours to your shin without excessive pressure. The goal is to have even contact across your shin.
- Bottom Strap: This strap is typically located around the ankle or calf area. It helps keep the lower portion of the shin guard in place and ensures it overlaps adequately with your shoe.
Key Adjustment Tips:
- Strive for Equal Pressure: Avoid overtightening one strap while leaving another loose. The goal is balanced, firm contact all the way down your leg.
- Test Mobility: With the straps adjusted, perform a few deep squats and leg movements. If the guards shift significantly, tighten the relevant straps slightly. If they feel restrictive, loosen them a touch.
- Check for Gaps: Ensure there are no large gaps between your leg and the shin guard, especially around the knee and shin.
- Overlapping Protection: Make sure the bottom of the shin guard extends properly over the toe and ankle area of your cleats.
The Knee-Hugging Component
Many Rawlings shin guards come with a removable or adjustable “knee-hugger.” This is a piece of padding that extends upwards to provide extra protection for the knee and helps keep the shin guard from rotating outwards.
- Positioning: If adjustable, find the position that best cups your knee without being uncomfortable. It should provide a snug, supportive feel.
- Padding Overlap: Ensure the knee-hugger padding sits comfortably over the lower part of your kneecap and extends down to integrate smoothly with the main shin guard.
- Attachment: If it’s a separate piece, ensure it’s securely attached to the main shin guard.
Breaking In Your Shin Guards
Just like gloves, new shin guards can benefit from a break-in period. Wear them around the house, during light drills, or even while watching TV. This allows them to mold slightly to the shape of your legs and can help identify any spots that might need further adjustment or give you a clue about where to focus your customization efforts.
Advanced Customization Techniques
For players seeking an even more personalized fit, there are a few advanced techniques you can explore. These go beyond simple strap adjustments and can make a significant difference in comfort and protection, especially for players with very specific leg shapes or those experiencing persistent issues.
Padding Inserts and Modifications
Sometimes, standard padding might be too much in one area or not enough in another. While major modifications should be approached with caution and ideally by someone experienced, minor tweaks can be helpful.
- Adding Thin Foam: For pressure points where the shin guard might be digging in, you can sometimes add a very thin layer of closed-cell foam (like craft foam or specialized sports padding) to the inside of the guard. Test this thoroughly to ensure it doesn’t create new pressure points or make the guard too bulky.
- Relocating Straps: In some cases, if a strap isn’t hitting the right spot, you might be able to carefully re-sew Velcro or add an extension strap. This is a more involved modification and should only be attempted if you’re comfortable with basic sewing or modification.
Important Note: Always consult the manufacturer or a professional before making significant alterations to your gear. Improper modifications can compromise the protective integrity of the shin guards.
Consideration for Different Leg Shapes
Everyone’s legs are different. Some players have very muscular calves, while others might have thinner shins. Rawlings offers various models, and some might naturally fit certain leg types better.
- Wider Calf Sections: If you find most shin guards are too tight around your calves, look for models that are known to have a more generous cut in that area.
- Narrower Shin Areas: Conversely, if guards feel too loose on your shins, you might need to focus on models with more contoured padding or be prepared to rely heavily on strap adjustments.
Professional Fitting and Customization Services
For elite players or those with very specific needs, specialized sports equipment stores sometimes offer professional fitting services. They can assess your needs and recommend modifications or even custom-molded gear. While this is less common for shin guards than for things like football pads, it’s an option for those who want the absolute best fit.
Table: Sizing Guide Example for Rawlings Catchers Shin Guards
This is a generalized example. Always refer to the specific product’s sizing chart provided by Rawlings or the retailer. Measurements are typically in inches.
| Size | Length (Top of Guard to Bottom) | Recommended Player Height | Notes |
|---|---|---|---|
| Youth Small | 13-14 inches | Under 4’8″ | Best for younger players, typically elementary school age. |
| Youth Medium | 15-16 inches | 4’8″ – 5’4″ | Suitable for middle school players or smaller youth players. |
| Adult Small | 16-17 inches | 5’4″ – 5’9″ | Good for high school players or smaller adults. |
| Adult Medium | 17-18 inches | 5’9″ – 6’0″ | Common size for many high school and adult players. |
| Adult Large | 18-19 inches | 6’0″ and taller | For taller players who need extra length. |
Remember: Shin guard length is crucial. The bottom of the guard should extend over your cleats, providing protection to your ankle and the top of your foot. If your measurements fall between sizes, it’s often better to go with the slightly longer option to ensure adequate coverage over your footwear.
Maintaining Your Shin Guards for Longevity

Once you’ve achieved that perfect fit, taking care of your Rawlings catchers shin guards will ensure they last and continue to perform at their best.
- Cleaning: After each use, wipe them down with a damp cloth to remove dirt and sweat. For a deeper clean, you can use mild soap and water. Ensure they are completely dry before storing to prevent mildew.
- Drying: Never leave your shin guards in a stuffy equipment bag, especially after a sweaty game. Air them out in a well-ventilated area. Direct sunlight can degrade some plastic components, so avoid prolonged exposure.
- Strap Care: Keep the Velcro straps clean. Lint and dirt can reduce their effectiveness. Periodically brush off any debris.
- Storage: Store them in a cool, dry place. Avoid extreme temperatures. Some players prefer to keep them in a protective bag to prevent scratches.
Proper maintenance not only extends the life of your gear but also helps maintain its protective qualities and fit. Think of it as part of your pre- and post-game routine.
FAQ: Your Questions About Rawlings Catchers Shin Guards Answered
Q1: How do I know if my Rawlings catchers shin guards are the right size for me?
A1: The right size means they cover your knee cap completely and extend down to cover the top of your cleats without being too short or too long. They should feel snug and secure when all the straps are fastened, allowing you to move freely without them shifting.
Q2: Can I wash my Rawlings catchers shin guards in a washing machine?
A2: It’s generally not recommended to machine wash shin guards. The agitation and heat can damage the padding, plastic shells, and straps. Hand-washing with mild soap and water, followed by air drying, is the safest method for cleaning.
Q3: My shin guards feel tight behind the knee. What can I do?
A3: This often happens with the top strap. Try loosening the top strap slightly and ensuring the knee-hugger (if applicable) is positioned correctly and not pushing into your knee. Sometimes, a bit of break-in time will help, or you might need to adjust how the straps overlap.
Q4: What’s the difference between youth and adult Rawlings catcher shin guards?
A4: The main differences are length and width. Youth models are shorter and narrower to fit smaller legs, while adult models are longer and wider. Always check the specific size chart for the model you are considering.
Q5: My shin guards slip down during play. How can I fix this?
A5: Ensure your top straps are adjusted firmly. Also, make sure the bottom straps are snug around your calf/ankle area to help anchor them. Worn-out straps can lose their grip; check if they are still adhering well. Sometimes, wearing compression sleeves underneath can provide a bit more grip.
Q6: Are Rawlings shin guards good for softball catchers too?
A6: Yes, many Rawlings catcher’s shin guards are designed for use in both baseball and softball. However, softball pitches can be thrown at different speeds and trajectories, so ensure the shin guards offer adequate protection for the level of play.
Q7: How often should I replace my catcher’s shin guards?
A7: Shin guards don’t need frequent replacement unless they are damaged. Inspect them regularly for cracks in the plastic, torn straps, or compressed padding. With proper care, they can last several seasons. If you notice significant wear or damage that compromises protection, it’s time for a replacement.
Conclusion: Dominate Behind the Plate with Confidence
Achieving the perfect fit for your Rawlings catchers shin guards is more than just about comfort; it’s a fundamental aspect of performance and safety. By understanding how to measure, adjust straps effectively, and even exploring minor customization, you ensure your gear works for you, not against you. A well-fitted shin guard means you can focus on blocking that crucial pitch, making a quick throw to second, and staying solid behind.
