Getting the right fit for your Under Armour catcher’s throat guard is crucial for comfort, safety, and peak performance behind the plate. This guide walks you through the simple steps to ensure a perfect, secure fit for any young catcher.
So, you’re ready to step behind the plate. Awesome! As a catcher, you’ve got a tough but incredibly important job. One piece of gear that’s often overlooked but vital for your safety is the throat guard. You might have an Under Armour throat guard, and that’s great! They make quality stuff. But if it doesn’t fit right, it can be uncomfortable, distract you, or worst of all, not protect you when you need it most. We’ve all been there, fiddling with gear on the sideline, wishing it just felt right. This guide is here to help you get that perfect fit, so you can focus on making great pitches and blocking those bullets. We’ll break down exactly how to get your Under Armour throat guard fitting like it was made just for you.
Why the Right Throat Guard Fit Matters

Think of your throat guard as your last line of defense against errant pitches or wild swings. It needs to be positioned correctly to do its job. An ill-fitting guard can:
Become a distraction: If it’s too loose, it might slide around, and if it’s too tight, it can pinch or rub, taking your mind off the game.
Offer inadequate protection: If it’s not snug against your mask and jaw, it might shift during impact, leaving a gap where a ball could hit.
Hinder your vision: A guard that’s too long or positioned awkwardly can obstruct your view of the pitcher and the field.
Cause discomfort: Let’s face it, you’re going to be wearing this for a long time. If it’s uncomfortable, the whole experience is less enjoyable.
A properly fitted throat guard ensures it stays put, provides maximum coverage, and lets you play with confidence.
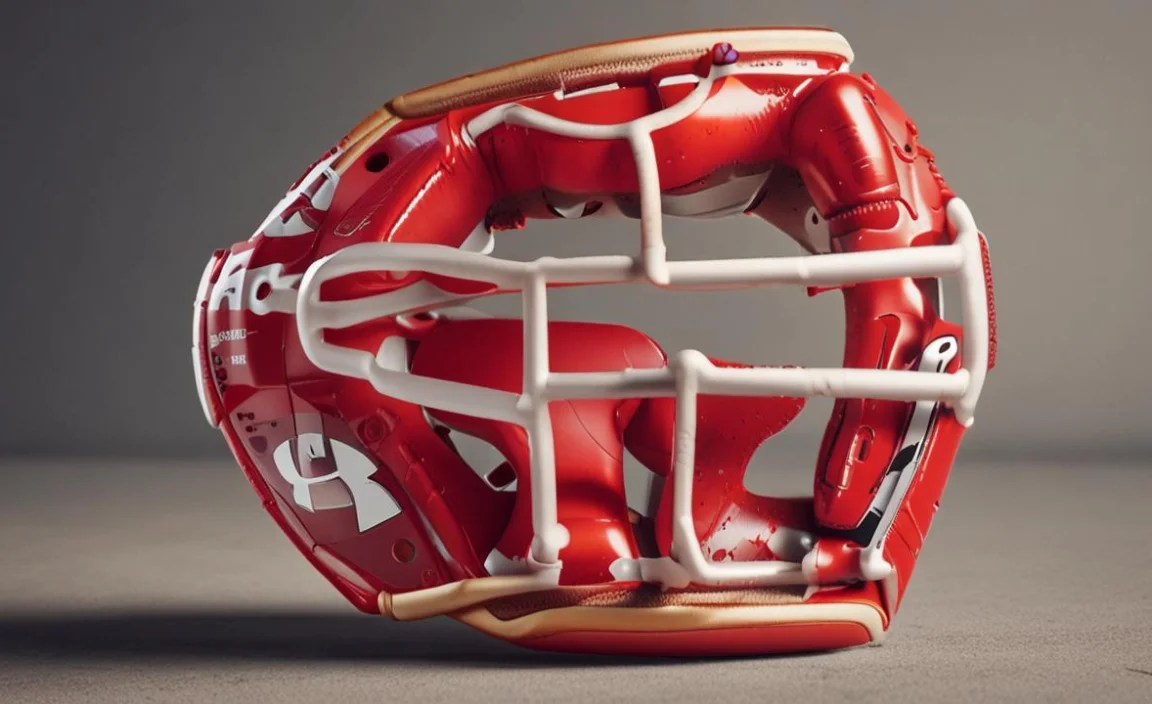
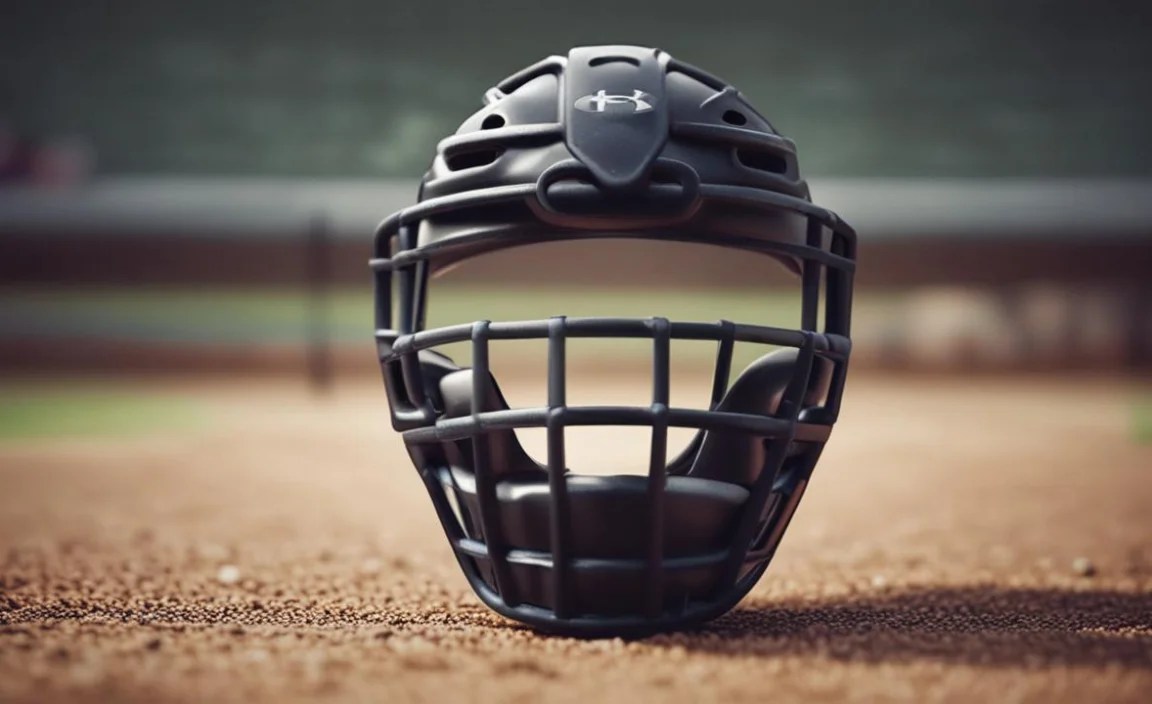
Understanding Under Armour’s Throat Guard Design

Under Armour, like many reputable brands, designs its throat guards with a focus on function and player comfort. Generally, these guards attach to the catcher’s mask and are designed to sit at the base of the mask’s jaw area, extending downwards to protect the throat.
Attachment Points: Most Under Armour throat guards use a system of clips or straps that slide into specific slots or around the bars of your catcher’s mask.
Material: They’re typically made from durable, impact-resistant plastic or a composite material that can withstand forceful impacts.
Ergonomics: The shape is usually contoured to follow the natural curve of a player’s jaw and neck, aiming for a secure and unobtrusive fit.
When you look at your Under Armour throat guard, you’ll likely see a few key pieces: the main guard and the fasteners that connect it to your mask. Understanding these parts is the first step in getting a good fit.
What You’ll Need
Getting the perfect fit is usually a straightforward process, and you probably won’t need any fancy tools.
Your Catcher’s Mask: This is essential! The throat guard is designed to work with the mask.
Your Under Armour Throat Guard: Of course!
A Mirror (Optional but Recommended): This helps you see what you’re doing and ensure proper alignment.
A Helper (Optional): A friend, parent, or coach can offer an extra set of eyes and help make adjustments.
Step-by-Step Guide: Fitting Your Under Armour Throat Guard

Let’s get your throat guard fitted. Take your time with these steps; a few extra minutes now will pay off big time during the game.
Step 1: Inspect Your Catcher’s Mask
First, take a good look at the catcher’s mask you’ll be using. Most masks have specific attachment points for throat guards, often small slots or areas where clips can securely fasten.
Identify the lower bars of the mask, particularly around the chin and jaw area.
Look for any pre-designed notches or holes. These are usually where the guard’s fasteners will go.
For example, many high-quality catcher’s masks, like those from Rawlings, have clearly marked areas designed for throat guard attachment. Knowing these on your specific mask will make the process much easier.
Step 2: Familiarize Yourself with Your Throat Guard
Hold your Under Armour throat guard and examine its attachment mechanisms.
Clip-style guards: These usually have two or more clips that are designed to slide onto or hook around the mask bars.
Strap-style guards: Some might have adjustable straps with Velcro or buckles that wrap around the mask.
Under Armour often uses a simple, effective clip system that’s designed for quick on-and-off.
Step 3: Initial Attachment
This is where you’ll begin connecting the guard to your mask.
For clip-style guards: Start by aligning the top clips of the throat guard with the designated attachment points on the lower part of your mask. Gently push or slide the clips into place. You should feel or hear a slight click if they are properly seated.
For strap-style guards: Attach the straps loosely around the appropriate mask bars first.
You don’t need to fully secure it yet; just get it attached so you can assess the position.
Step 4: Test the Position and Coverage
With the guard loosely attached, put the mask on.
Adjust the mask to its usual position on your head.
Check where the throat guard is sitting. It should be directly below your chin and extend downward, covering the sensitive area of your throat.
Ensure it’s not pushing uncomfortably into your chin or neck.
Verify that it doesn’t obstruct your downward vision (important for watching runners or calling plays).
The goal is for the guard to be a seamless extension of the mask’s protective area.
Step 5: Secure the Fitting
Once you’re happy with the initial position, it’s time to secure the guard firmly.
For clip-style guards: Ensure all clips are fully engaged. You might need to press down firmly or slide them until they lock. Make sure the guard isn’t wobbling or loose.
For strap-style guards: Tighten the straps snugly, but not so tight that it’s uncomfortable or restricts breathing. The guard should be firm against the mask.
Try to get the guard as stable as possible. It shouldn’t move independently of the mask.
Step 6: Final Fit Check & Adjustment
Put the mask on again and perform a thorough check.
Movement Test: Gently try to wiggle the throat guard. It should move with the mask, not independently.
Comfort Check: Wear the mask for a minute or two. Does it feel comfortable? Are there any pressure points or areas that rub? If so, you may need to slightly reposition the guard or adjust how the mask sits on your head. Sometimes, a tiny adjustment in mask position can make a big difference in throat guard comfort.
Vision Check: Look down. Can you see the ground and your feet clearly? Can you see the pitcher and home plate without the guard getting in the way?
Coverage Check: Look in a mirror. Does the guard look like it’s providing complete coverage of your throat area when the mask is on correctly?
If everything feels good, you’re golden! If not, don’t be afraid to detach and try again, making small adjustments to the position on the mask.
Common Fitting Issues and How to Solve Them
Even with the best intentions, you might run into a few snags. Here are some common problems and quick fixes:
| Issue | Cause | Solution |
| :—————————————- | :————————————————————————————————- | :————————————————————————————————————————————————– |
| Guard is too loose/wobbly | Clips not fully engaged or straps not tightened enough. | Ensure all clips are firmly snapped into place. Tighten straps securely. Check if the mask has specific grooves the guard is meant to sit in. |
| Guard is too tight/uncomfortable | Guard positioning is too high, or straps/clips are pressing into skin. | Lower the guard slightly on the mask. Loosen straps if applicable. Try adjusting the mask’s fit on your head. |
| Guard obstructs vision (downward) | Guard might be too long or attached too low on the mask. | Try moving the guard up slightly on the mask. If the guard is excessively long, you might need a different model (though less common with UA guards). |
| Guard interferes with chin | Guard shape might not be ideal for your jawline, or it’s positioned too high. | Reposition the guard lower on the mask. Ensure it follows the natural curve of your jaw. |
| Guard falls off during play | Improper attachment or a worn-out mask/guard. | Double-check that all fasteners are securely locked. Inspect mask for damage. If the guard is old or damaged, it may need replacing. |
| Guard doesn’t align with mask slots | Mask/guard compatibility issues or incorrect attachment method. | Consult your mask’s manual if available. Some masks have universal attachment points, while others are specific. Ensure you’re using the intended slots. |
Remember, the goal is a snug, secure fit that doesn’t impede your performance or comfort.
Pro-Tips for Catcher’s Gear & Throat Guards
Beyond just the throat guard, a few other tips can help you stay comfortable and protected behind the plate:
Mask Fit is Key: Your throat guard’s fit is directly related to how your mask fits. A well-fitting mask shouldn’t move around on your head. Ensure the straps are adjusted correctly, and the mask sits properly on your face. Many manufacturers, like EvoShield, provide sizing guides for their masks.
Break-In Period: While throat guards don’t typically require a significant “break-in” period like gloves, wearing them during practice can help you get used to the feel.
Regular Checks: P
