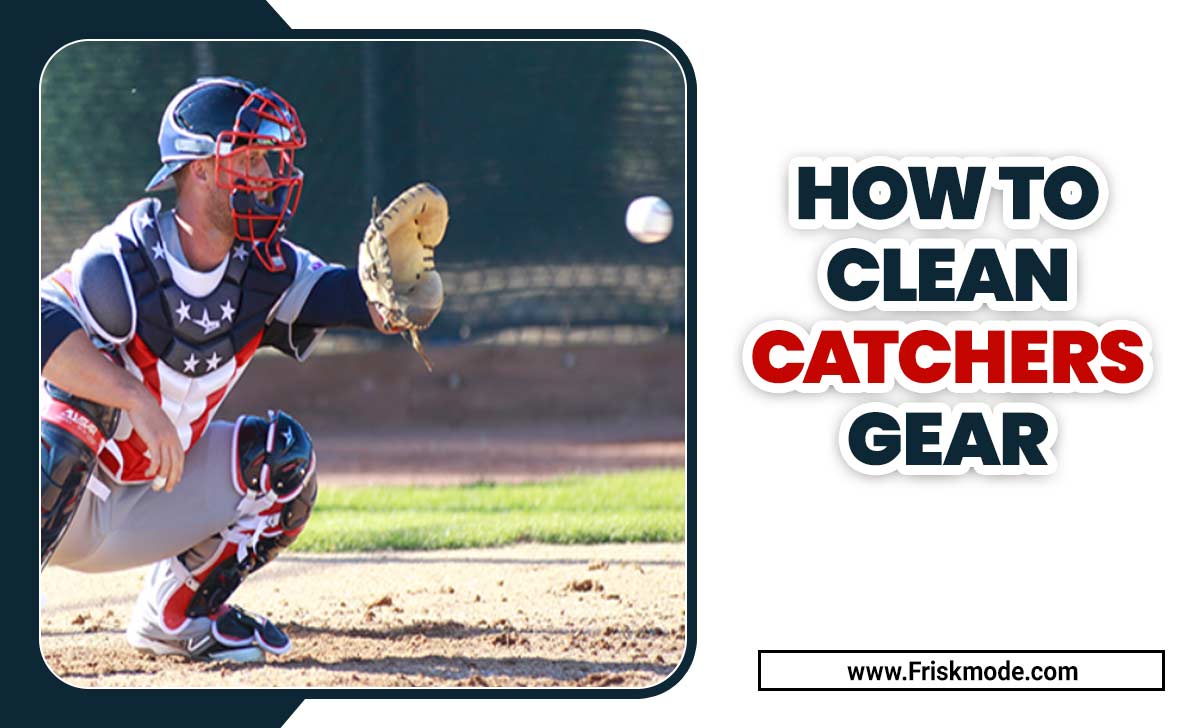
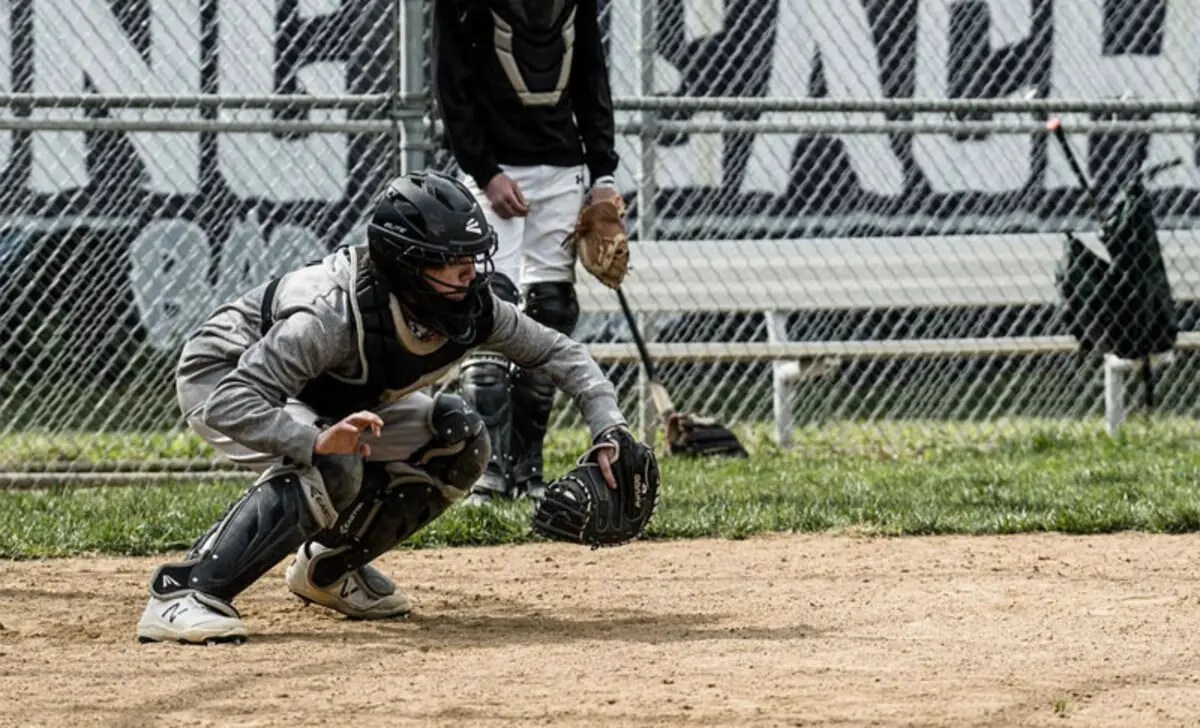
Keeping the catcher’s gear clean piece is important not only for maintaining its appearance but also for its functionality and longevity. As one of the most essential clothing in baseball, catcher gear needs to be properly cleaned and maintained to ensure its effectiveness on the field.
Each gear requires a specific cleaning method to remove dirt particles, sweat, and bacteria from the chest protector and shin foam leg guard to the helmet and mitt.
Here, we will discuss the step-by-step process of how to clean catcher gear effectively, whether a professional player or a youth league catcher, these tips and techniques will help you keep your gear in top condition. By following these guidelines, you can not only prolong the life of your equipment but also ensure the safety and comfort of yourself and your teammates.
How To Clean Catchers Gear Sets?
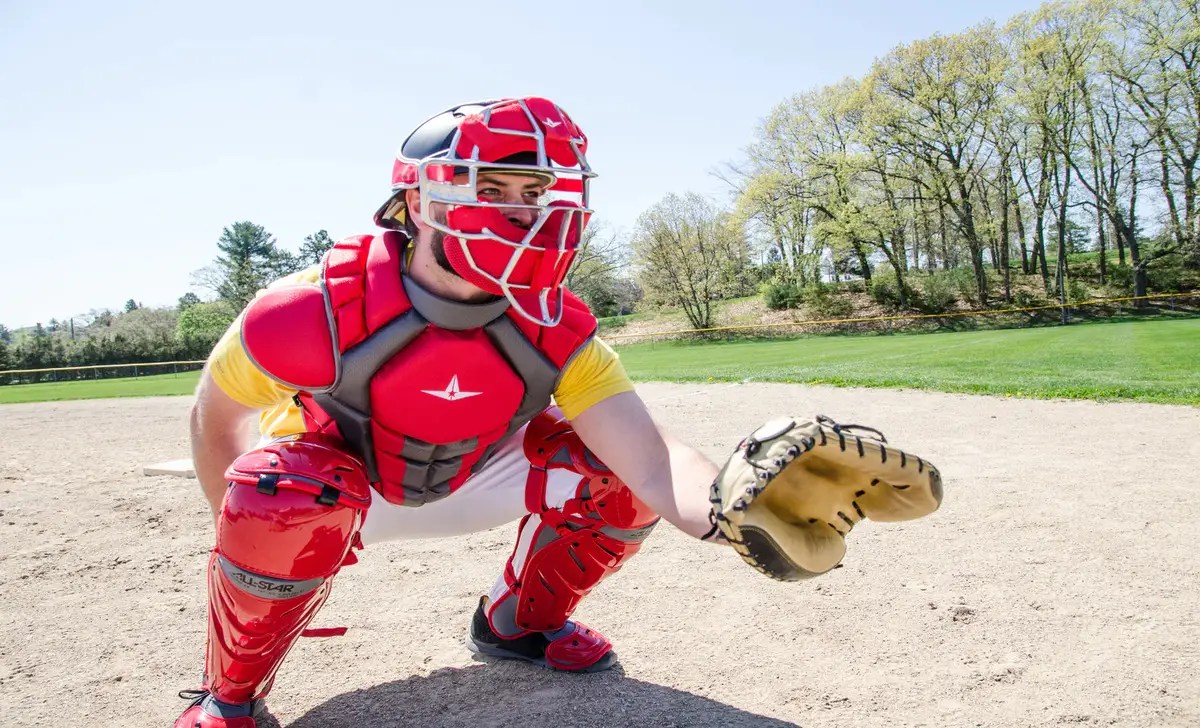
One crucial aspect that cannot be overlooked is clean catcher gear. Catchers play a vital role in baseball game of baseball catcher gear, protecting the plate and their team from opposing players attempting to score. However, the nature of their position exposes them to various contaminants such as dirt, sweat, and even bodily fluids. Clean catcher’s gear sets, follow these steps:
- Remove all removable parts from the gear set, such as the chest protector, leg guards, and helmet.
- Check the manufacturer’s instructions for any specific cleaning recommendations. Some gear sets may be machine washable, while others require hand washing.
- If machine washing is allowed, place the removable parts in a mesh laundry bag to protect them from getting damaged or tangled. Use a mild detergent and wash them on a gentle cycle with cold excess water.
- If you need to hand wash, fill a basin or sink with warm water and add a mild detergent residue. Gently scrub the gear using a soft brush or sponge, paying extra dirt attention to any areas with stains or dirt buildup.
- Rinse the gear thoroughly with clean water to remove all soap residue.
- Allow the gear to air dry completely. Avoid using direct heat or sunlight as it may cause damage or discoloration.
- While the removable parts are drying, wipe down the helmet and other non-removable components with a damp, clean cloth and mild detergent. Be sure to clean all the nooks and crannies.
- Once everything is dry, reassemble the gear set according to the manufacturer’s instructions.
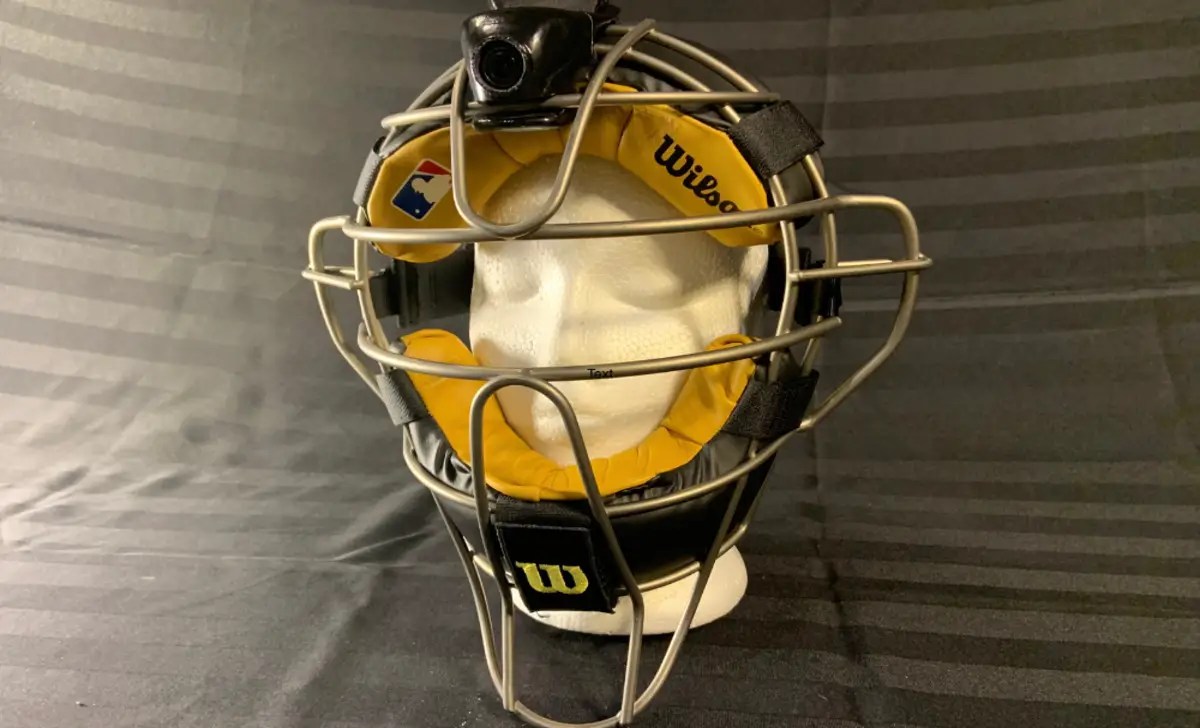
How To Clean Umpire/Catcher Mask
Clean catcher gear not only promotes personal hygiene but also extends the lifespan of the equipment. By promptly removing any dirt or sweat buildup, the performance and functionality of the gear can be preserved, ensuring that catchers can perform at their best. To clean an umpire/catcher’s mask, follow these steps:
- Begin by removing any detachable padding or straps from the mask.
2. Fill a sink or basin with warm water and add a mild detergent or dish soap.
3. Gently submerge the mask into the soapy water and allow it to soak for a few minutes.
4. Use a soft brush or cloth to scrub away any dirt, sweat, or grime from the surface of the mask.
5. Pay extra attention to the areas where the padding attaches to the mask, as these can accumulate dirt and bacteria.
6. Rinse the mask thoroughly with clean water to remove any soap residue.
7. If there are any stubborn stains or lingering odors, you can create a mixture of baking soda and water to create a paste. Apply this paste to the affected areas and scrub gently with a soft brush.
8. Rinse the mask again to remove the baking soda mixture.
9. Once the mask is clean, use a clean towel or cloth to dry it completely.
10. Reattach the padding and straps, ensuring everything is secure and properly placed.
Manual Washing
To effectively clean catcher gear, it is recommended to disassemble the equipment, if possible, and follow the manufacturer’s guidelines. Typically, the non-porous components can be wiped down using a mild detergent and water solution, while the fabric piece parts can be machine-washed or hand-washed with gentle detergent. Put in a washing machine (no soap!) and refill with cool or cold water if necessary. Fill up the wash cycle as follows:
- Start by adding some laundry detergent, then add just a little bit of regular bleach;
- Next, throw your clothes inside the washer drum and run through two more cycles to clean out any remaining detergents/bleach. Do not use warm or hot water for these steps.
Automatic Washing
If you have an automatic washing machine, fill it with regular bleach and enough cold or cool water to cover all the laundry. Ensure that your clothes are completely submerged in this chlorine-filled solution for at least 15 minutes before running through two more cycles. If your washer doesn’t have “cold wash” settings, keep the drum half full and only turn it on warm when needed.
Use A Brush And A Hose Pipe
Use a tub or small scrubbing brush to remove stains and dirt. To remove any tough spots (such as accumulated peat moss), have someone hold the water out of the way while you use something like a broom handle to raise an end and allow for easy removal.
Your gear set includes catcher’s mitts; clean them until they look brand new! Take your gloves, boots, and hats outside on a sunny day and leave them in the sun to dry. Take care not to get too much water into the leather of your gear while they are wet, as that can lead to rotting or discoloration for more delicate items like shin guards or oversized cloth caps; you may want something with less scrubbing capabilities (like an old toothbrush)
Mild Soap And Warm Water
Again, add a small amount of soap to your washing machine dryer drum. Then, pour in enough warm or cool water to submerge the clothes. Just be sure not to use hot or warm water for this step. Next, run through one more cycle with detergent and regular bleach water.
Upon completion of washing, an optional final wash cycle is recommended. This can include using a hand-washing soap or dish detergent. If any heavier soiling remains, use water-tight bags for your gloves and other delicate gear to keep them from being saddled with the scent of chlorine. Then –
- It is recommended to sterilize your washing machine after every wash cycle.
- For every machine load over 20 items, be sure to rinse it
- with a strong bleach and water solution
- Before you go, make sure all of your gear is air-dried or in an overhand to avoid the risk of mildew and mold.
Mild Soap And Cold Water
This is similar to the towel method above, but only with cold water. This will work well if you are in a hurry or don’t want to let your machine warm up. Start with less than 20 garments and then add more after each wash cycle until the load contains all your outfit pieces of gear (hat included)!- This will prevent over-saturation of your machine.
These proper methods will usually take between 3 and 8 hours. If you have a particularly tough soiling job, it may need more minimal time, or use an automatic machine for added scrubbing power. Do not forget to aerate the load before loading it inside the bag.
How To Clean Catcher Gear?
On game day on the field, you never know when intense wear and tear will put player equipment through. Catcher gear is no exception, as it goes through extreme use conditions and life-changing moments with each game. One thing’s for certain– your catcher’s mitt won’t stand up to its name without proper care. With four popular methods, taking care of catcher gloves becomes clear with simple steps.
- Take a Heavy Duty Cleaning Mat and cover the entire mitt in a layer
- The catcher’s gear should be comfortably damp at this point. Keeping your catcher’s equipment liquid-based during any cleaning process is important for maximum performance.
- Next, use baking soda and white vinegar to brighten the yellowed surface. This leaves behind a cleaner, more robust-looking glove without losing any performance.
- Add a microfiber towel with some fabric softener for a dryer that is more pleasant to use! This will help prevent moisture build-up.
The Full Manual Washing Process Looks Like This

Inspecting the catcher’s gear regularly for any signs of wear and tear is essential. Damaged or worn-out components should be replaced promptly to maintain the gear’s integrity and ensure the safety of the catcher. This is an outline of our full manual washing process.
- Start by choosing an appropriate load-leveling machine
- Follow the steps to coordinate with your machine
- Keep in mind that manufacturers may have specific instructions for their machines
- To keep the catcher’s gear clean and liquid-based, cover the mitt with a layer of water using a Heavy Duty Cleaning Mat.
- Next, use baking soda and vinegar to brighten yellowed surfaces on your catching equipment before putting it into the washer.
- The next step is to add a softener to your contender machine; this will make the catcher’s gear more pleasant and easier to use
- Finally, stop doing any further cycle when you notice that the inside of your glove begins to change color.
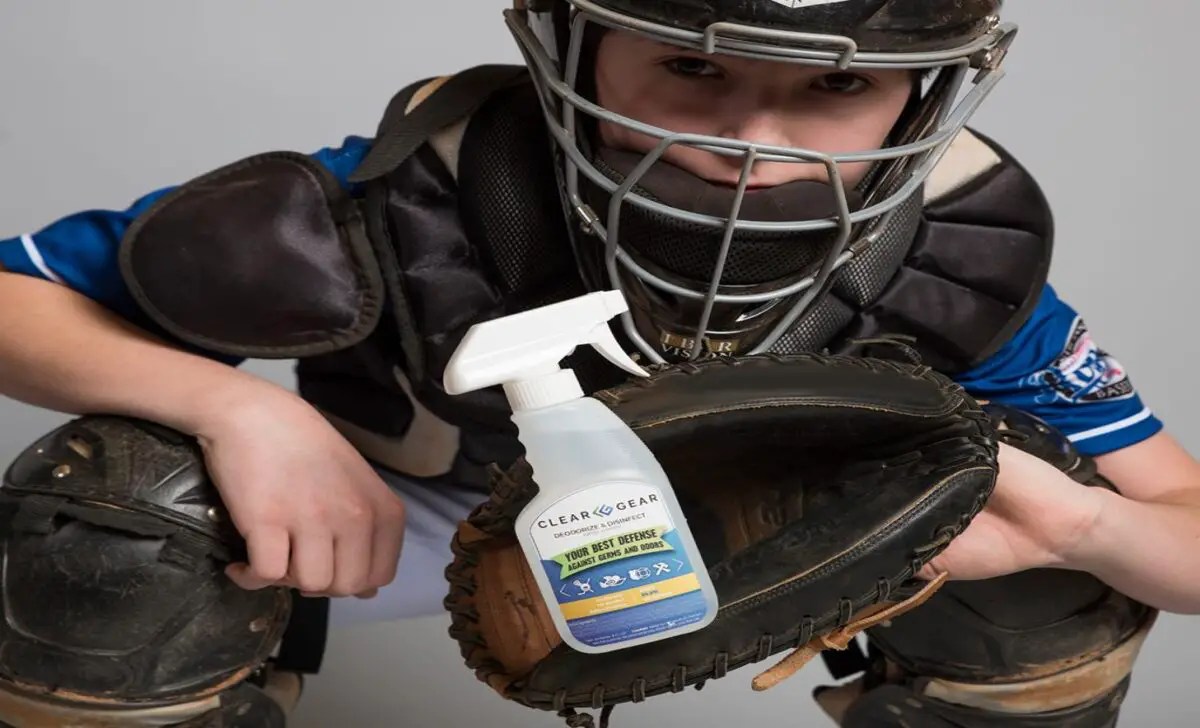
Cleaning With The Deodorizer Spray
Keeping catcher’s gear clean and smelling great is essential for peak performance. That’s where the deodorizer spray comes in. This cleaner is safe to use on all types of equipment, so you can be sure it’s effective. Just mist the spray onto the item and let it work its magic. In just a few minutes, your gear will be odor-free and look great. So don’t wait any longer; clean your catcher’s gear with the deodorizer spray today.
Cleaning With A Brush And A Hose Pipe
It’s important to clean the catcher’s gear regularly to avoid damage and wear. Cleaning with a brush and a hose pipe is the best way. Be sure to use warm, moldiest water bottles and mild cleaner to avoid damage or wear on the catcher’s gear. Let the equipment dry before storing it away for next season. Use a hose pipe for larger areas that can’t be easily brushed. Clean the catcher’s gear regularly to avoid wear and tear.
Here’s How To Clean Each Part Of The Catchers Gear With A Deodorizer Spray
The safety and protection of athletes should always be a top priority. This is particularly true in the baseball family, where catchers play a vital role. Clean catcher gear is essential for maintaining hygiene and ensuring optimal performance on the field. Here are to Clean Each Part of the Catchers Gear with a Deodorizer Spray:
- The Gloves: Spray the gloves with a deodorizer spray.
- The Mitt: Spray each “hand” of the catcher’s mitt once or twice, then swirl the ‘mitty’ around before letting it fall limp to help loosen any dirt on its surface.
- The Turkey Neck Shirt: Use a brush to scrub off any powder residue on the neck shirt with mildewed water jugs and ensure you rinse well afterward.
- The Helmet: Wipe your mouth guard down with a towel and wash the helmet; you don’t have to use harsh chemicals when cleaning it.
- The Bat And Batting Helmet: Be aware that hitting helmets are made from different materials, so ask your coach what type of solution is safe for them before putting them in the washing machine.
- The Catcher’s Bag: Spray the bag with a deodorizing spray before washing it to help keep it smelling fresh.
How To Clean Catcher’s Gloves
Clean Catcher’s Gear is essential to maintaining the safety and hygiene standards of any baseball player or softball team. Proper cleaning and maintenance of catcher gear prolongs its lifespan and ensures players’ well-being.
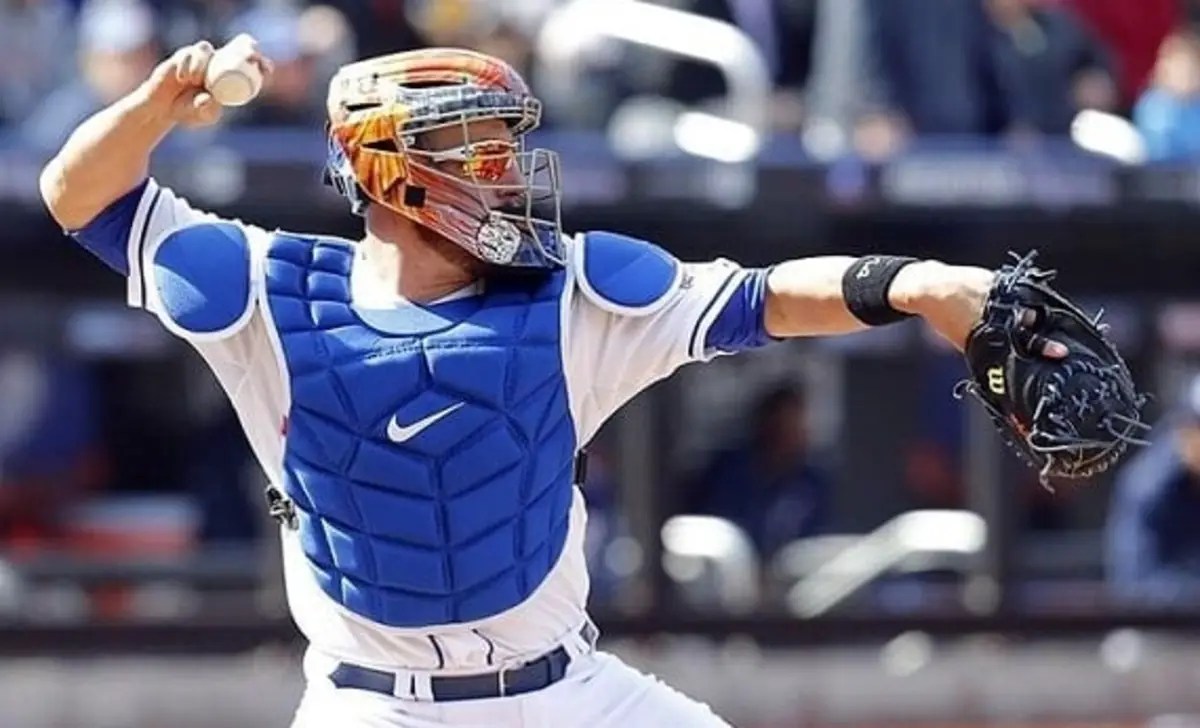
Catchers’ gear, consisting of a chest protector, leg ear guards, and a helmet, is exposed to sweat, dirt, and other contaminants during games and practices. Here are four simple steps to cleaning catcher’s gloves:
- Let the gloves dry completely before storing them.
- Wet a cloth in cold, lukewarm water and add soap.
- Keep repeating until you have cleaned off all of the dirt
- Wring out the cloth and place it over the catcher’s glove, ensuring all the dirt washes off.
Conclusion
Cleaning your catcher’s gear is a simple yet important task that should not be overlooked. Taking proper care of your catcher’s gear is essential for maintaining its quality and performance and the safety and hygiene of the player wearing it.
By following these steps and regularly cleaning and sanitizing your gear, you can ensure a longer lifespan for your equipment and a more enjoyable and safe experience on the field. Always consult the manufacturer’s instructions and replace any damaged or worn-out gear. With these tips, you can keep your catcher’s gear in top condition and be ready to play your best game over time.
Frequently Asked Questions
[rank_math_rich_snippet id=”s-fd11e486-f387-4894-9010-61a738483797″]
